App Checklist
Welcome to the KatApp Checklist!
Please follow the instructions below at least 2 days before the drill. This allows us to address any questions before the drill begins, as there won’t be sufficient time to resolve issues immediately before it starts.
Login
To begin using the app, you’ll need to paste your application token into the initial login screen. This token will be provided to you.
Home
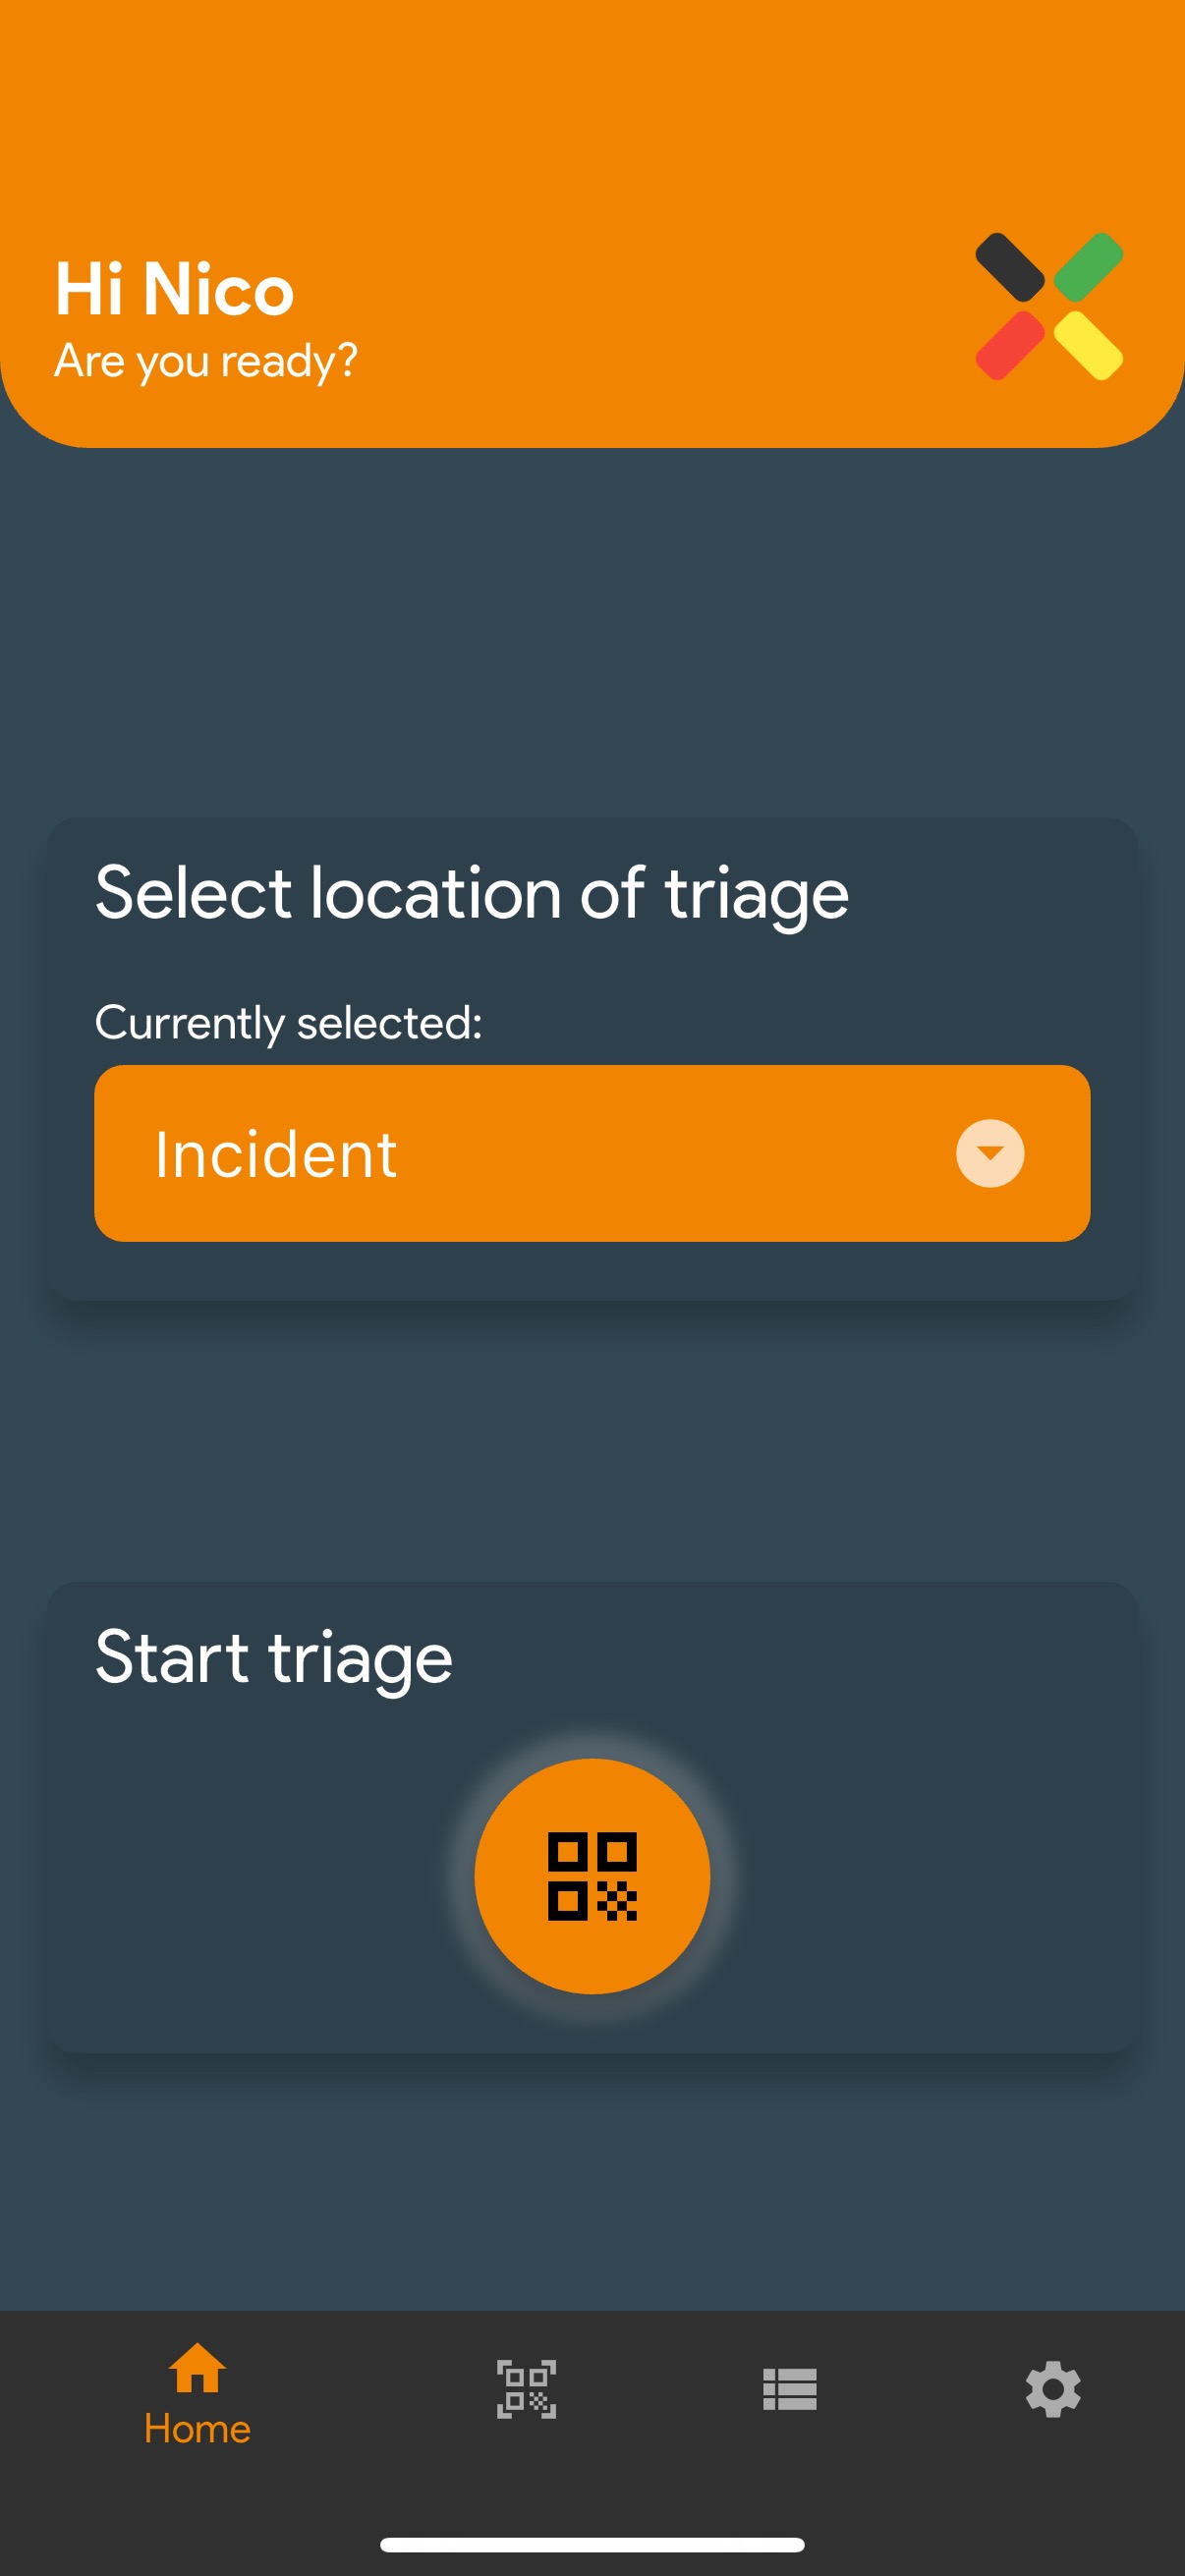
Here you can see your location. Please select this according to your role. In the bottom navigation bar, you can access a QR code scanner screen, a list, and settings. The settings should work out of the box, so you shouldn’t need to change anything. To start the initial process, click either the QR code at the bottom or the highlighted version in the middle of the screen.
QR Code Scanner
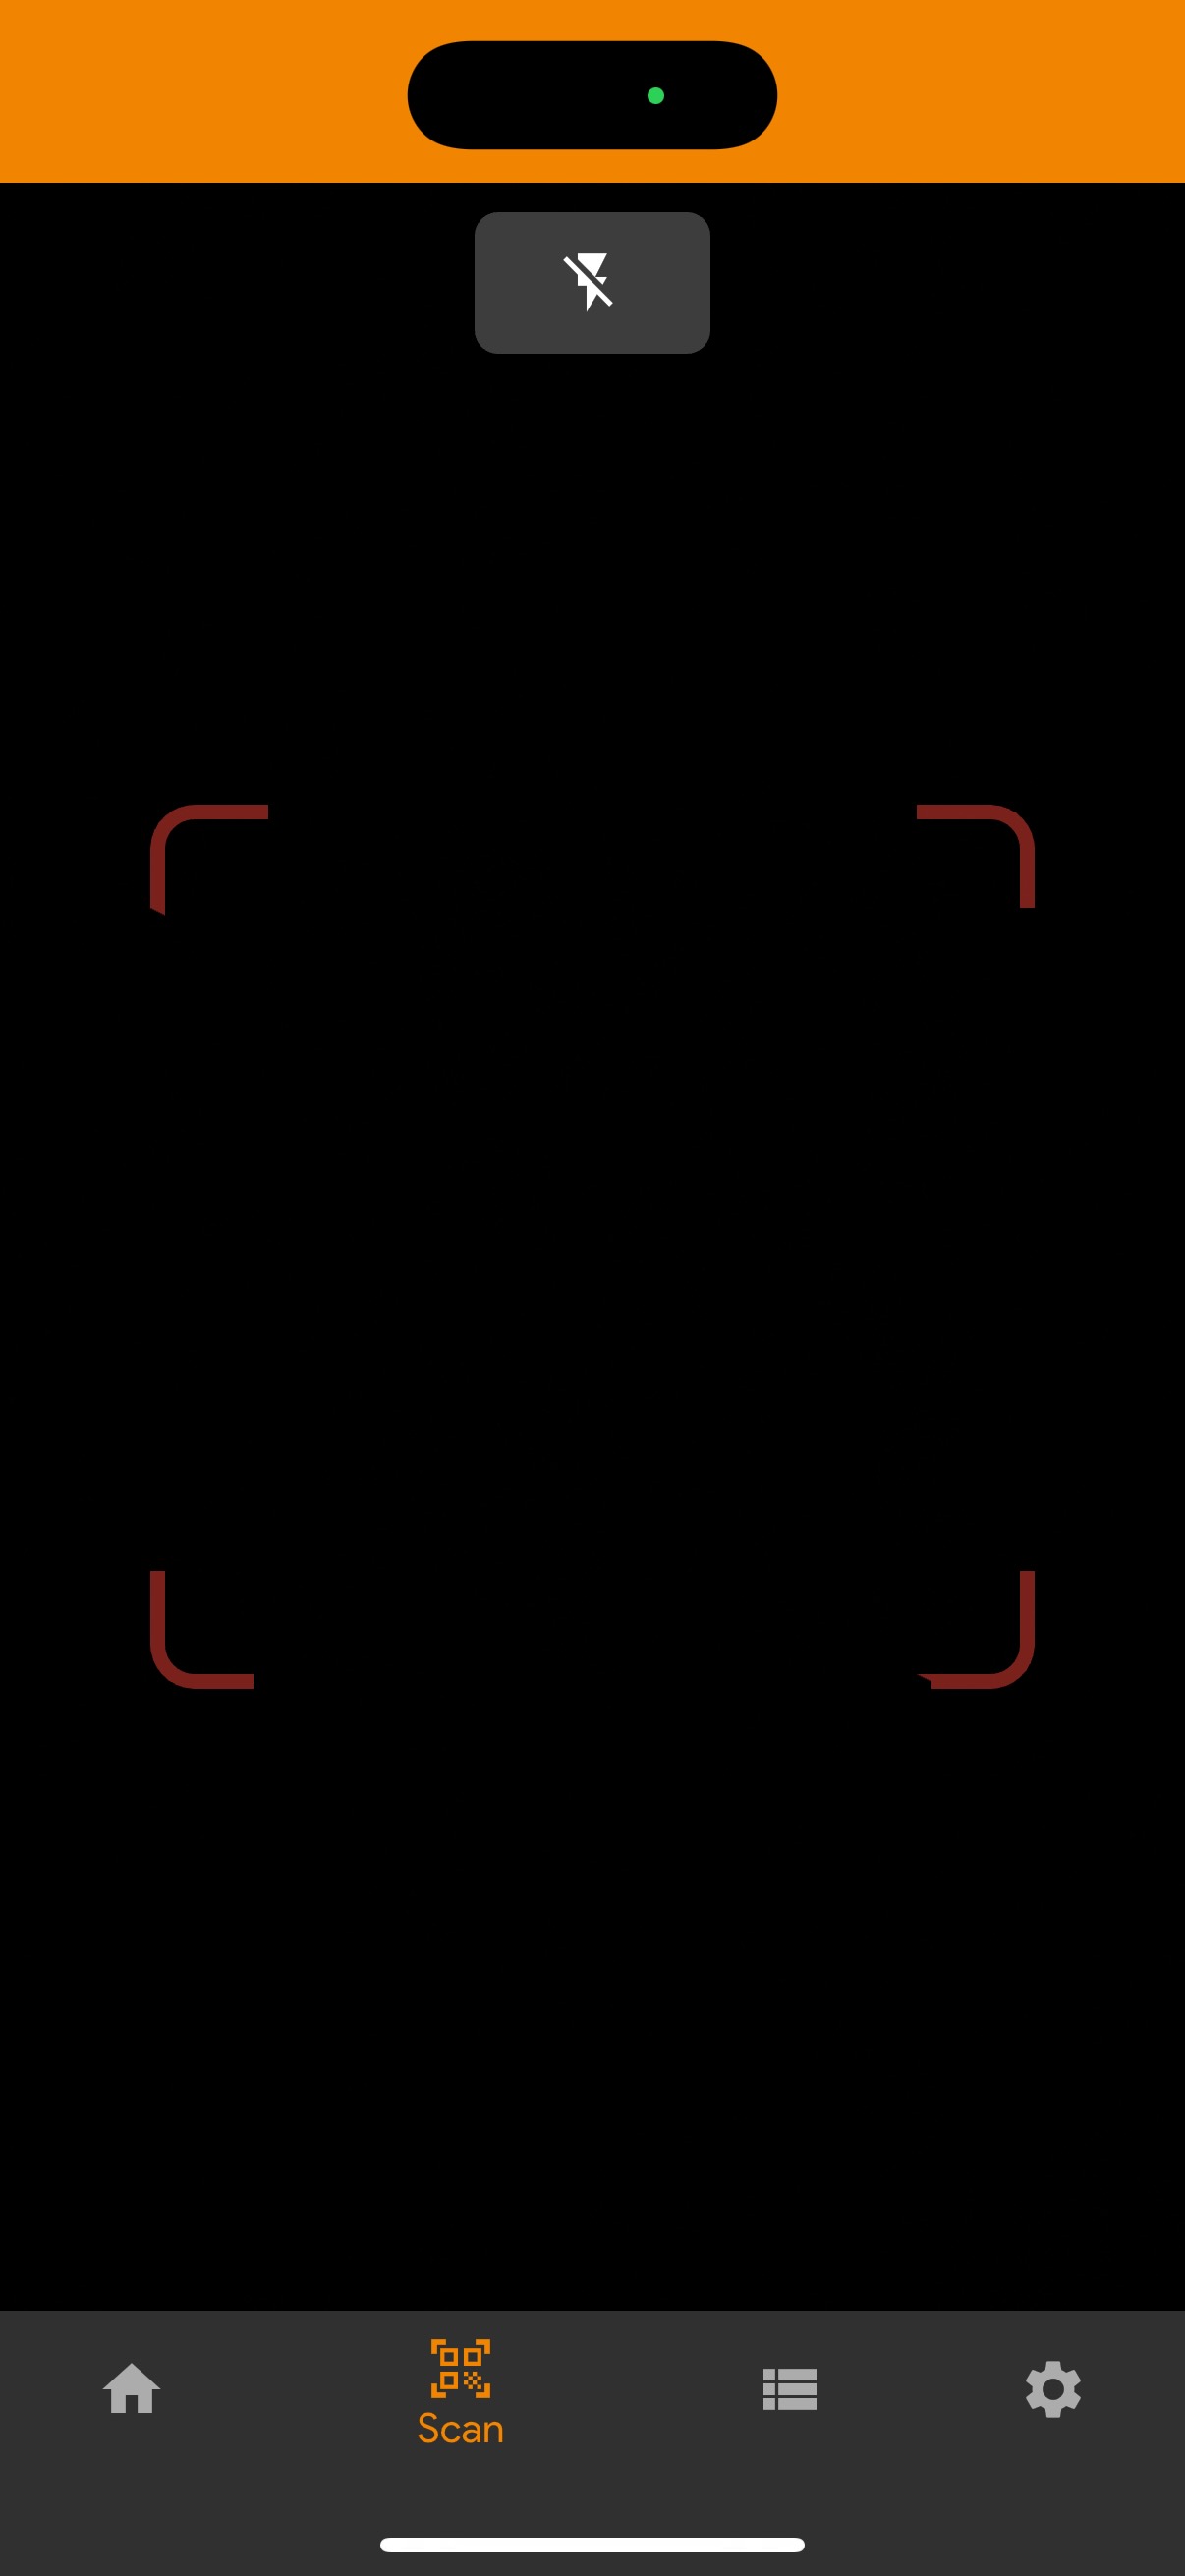
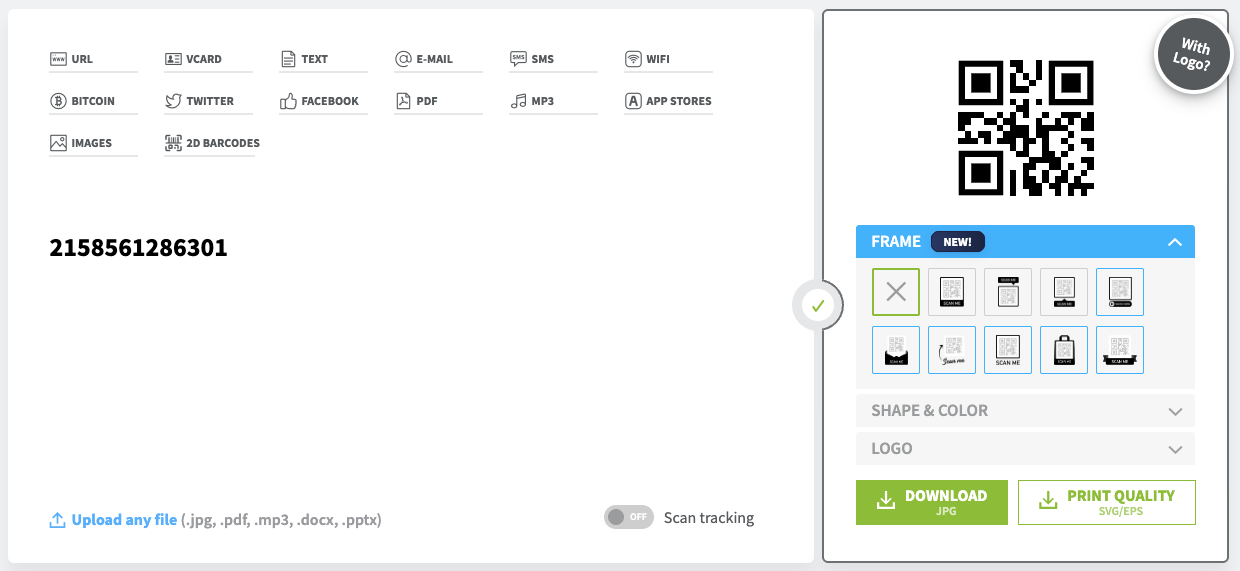
On this screen, you can scan a QR code that will be placed on the patient during the drill. This QR code uniquely identifies the patient. To test the app, visit a QR code generator like https://www.qr-code-generator.com/ or https://www.qrcode-monkey.com/ and scan a QR code with this screen. The QR code should contain only numbers and must be unique, as one QR code is matched to exactly one patient. In order to create your QR code we advice to use your matriculation number followed by random numbers, to get a truly unique number. If you used the same number as someone else you will get a different screen. In that case go back and choose a different number. An example QR code could look like this (please do NOT use this example, as it would conflict with existing entries):
Age Category Selection
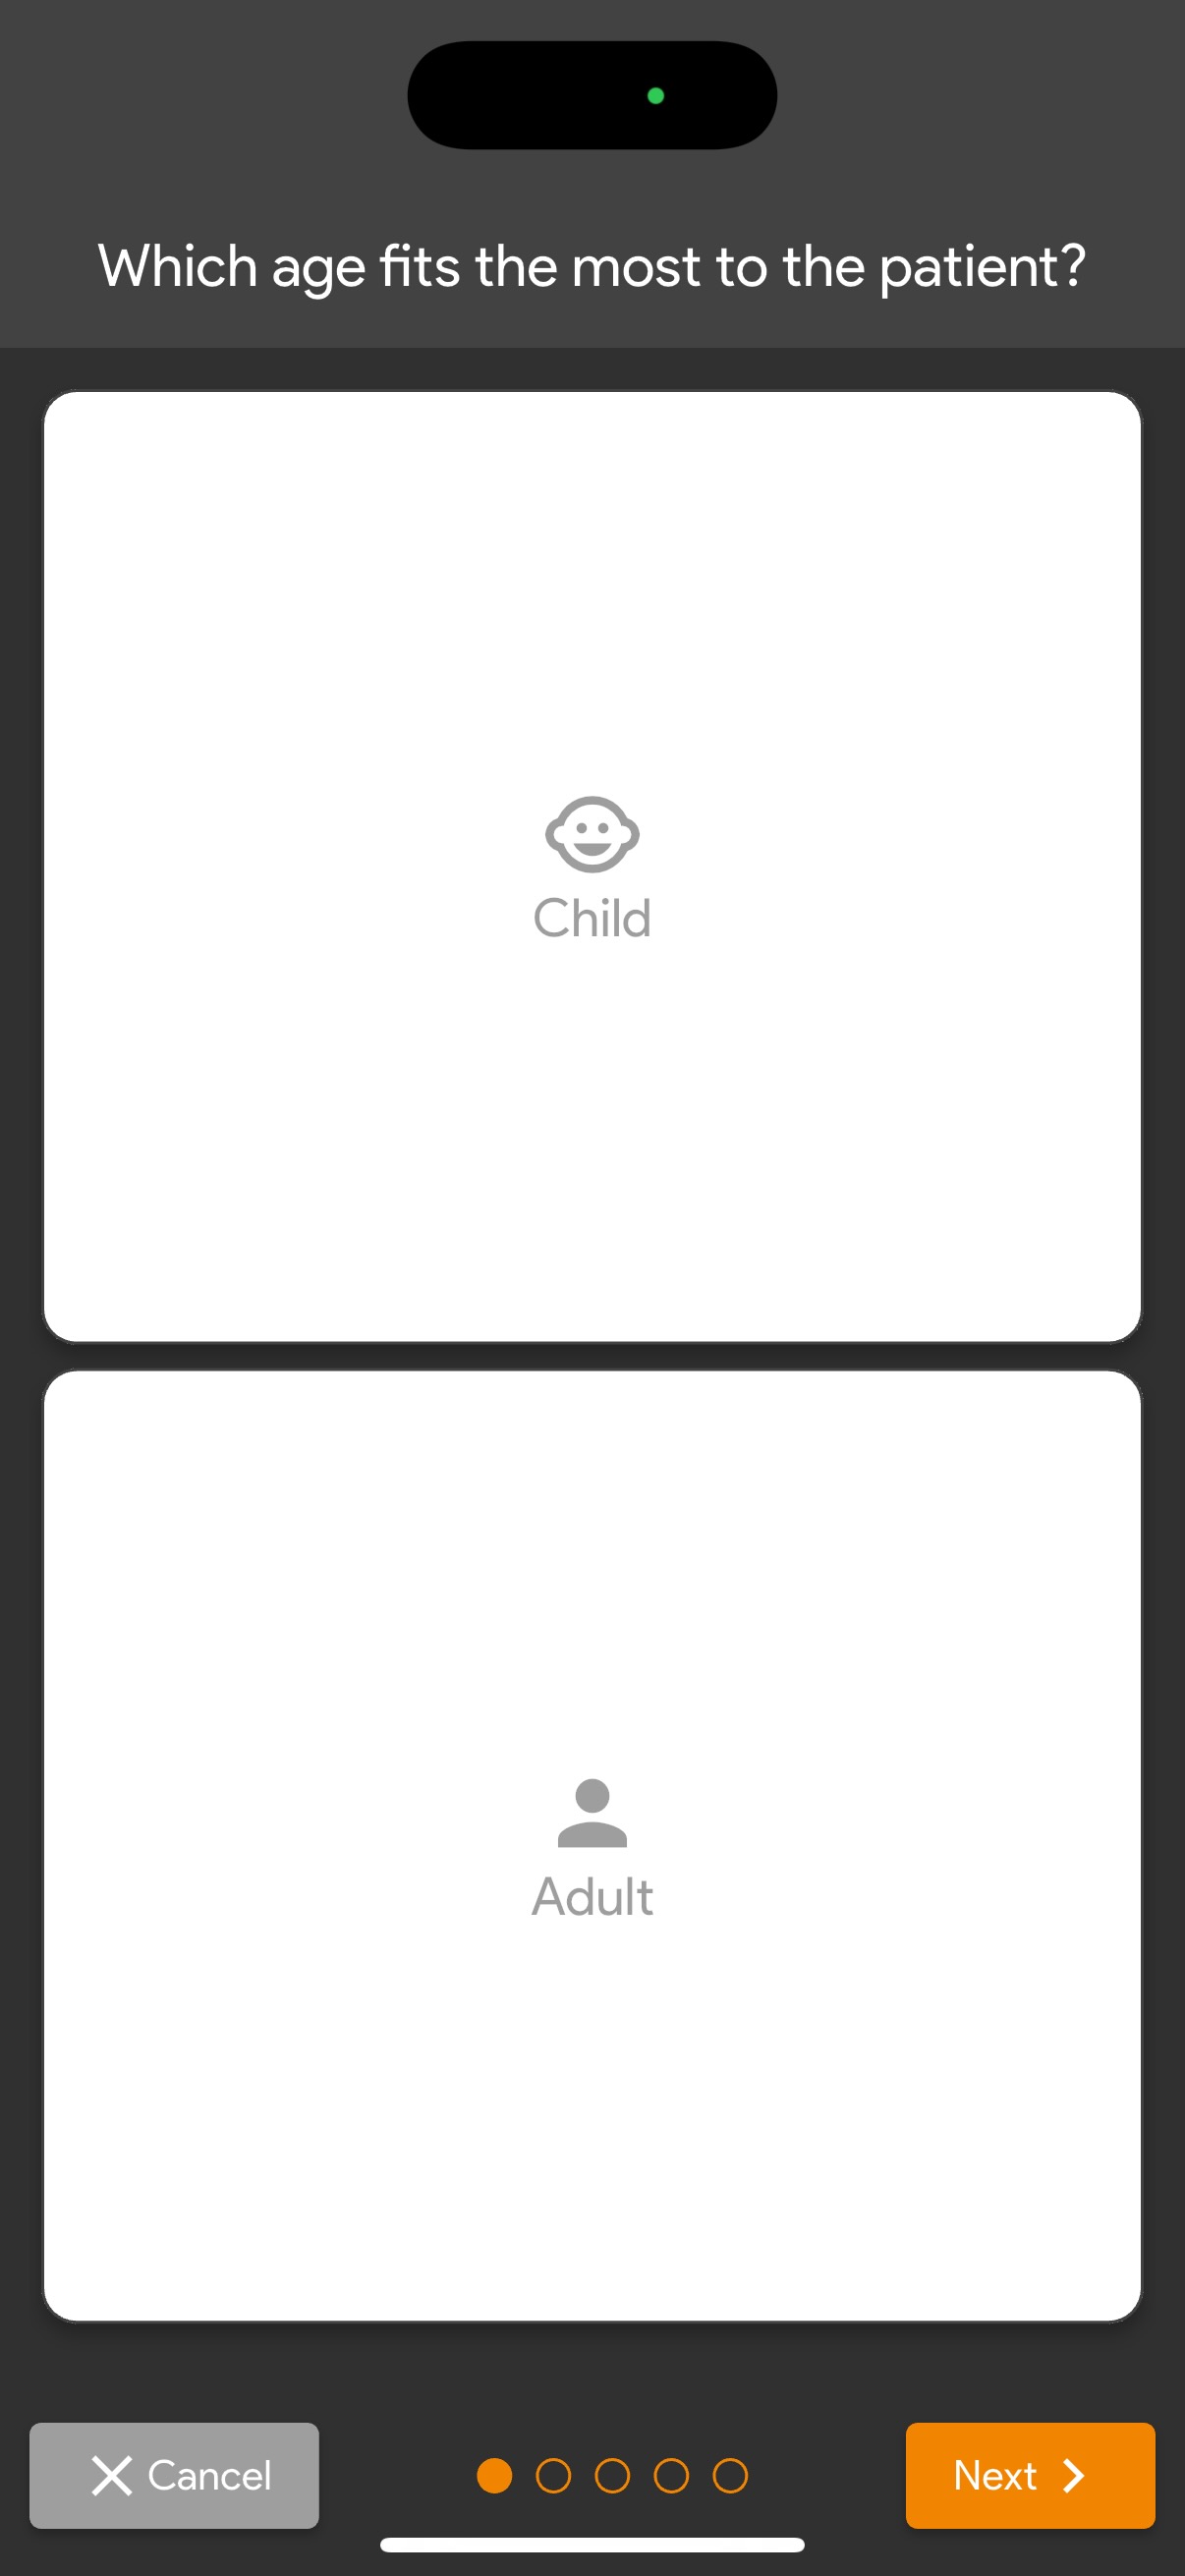
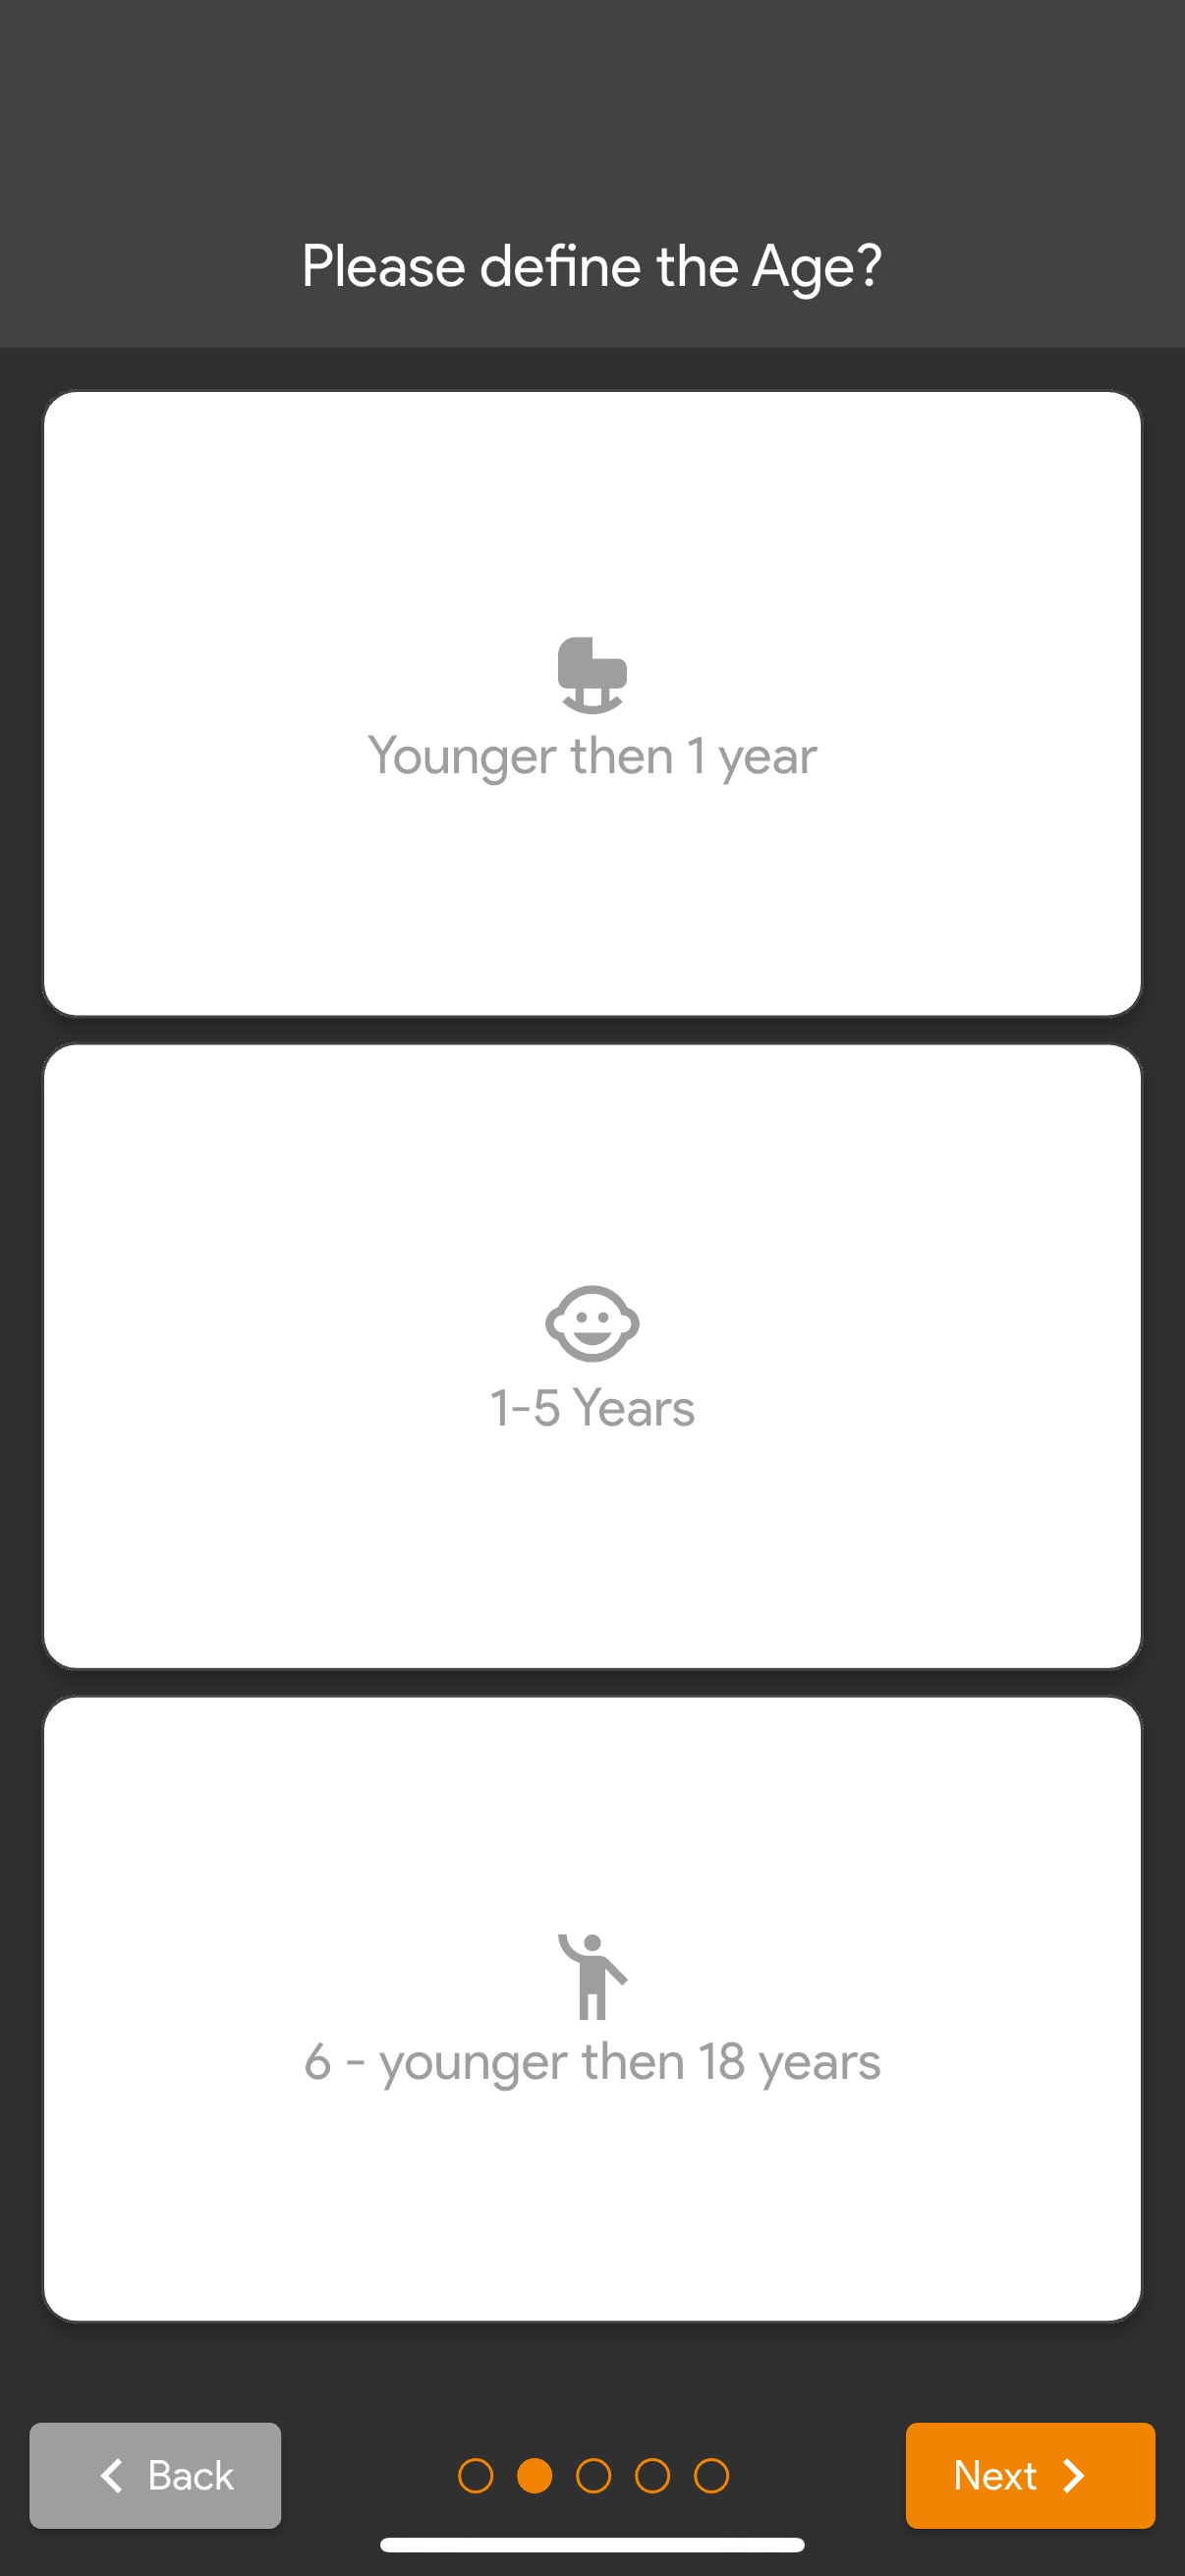
Next, select an age category for the patient. Depending on the category, the next screen may look slightly different, though they serve the same purpose.
Age Screen
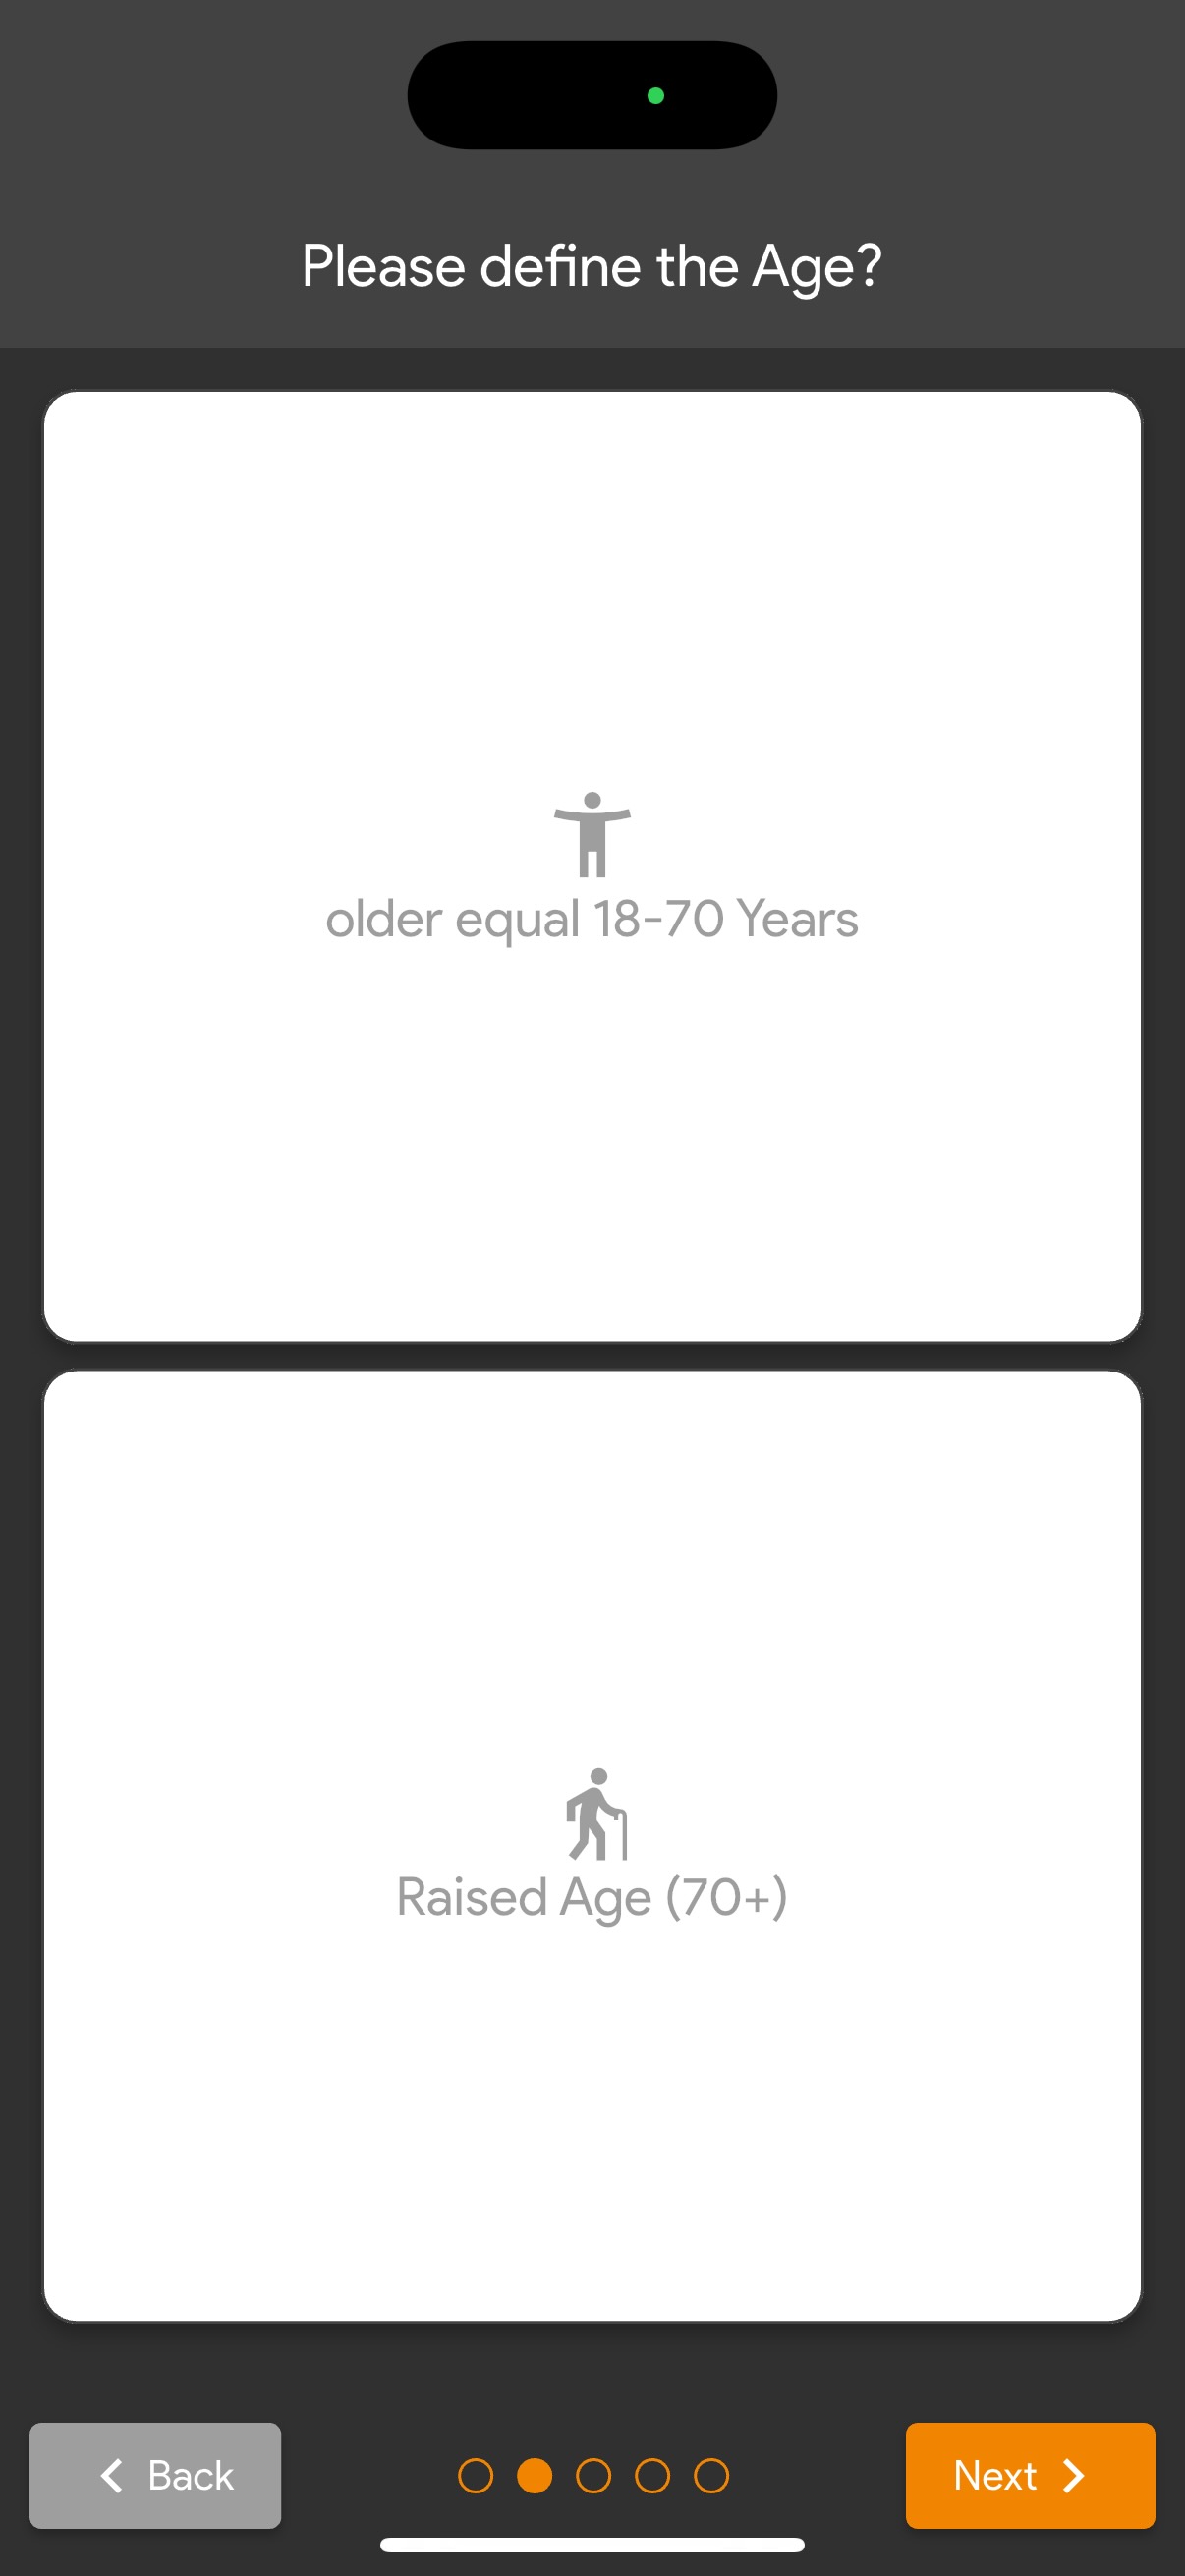
Next, choose a more detailed age description for the patient. This will look different depending on the chosen age category.
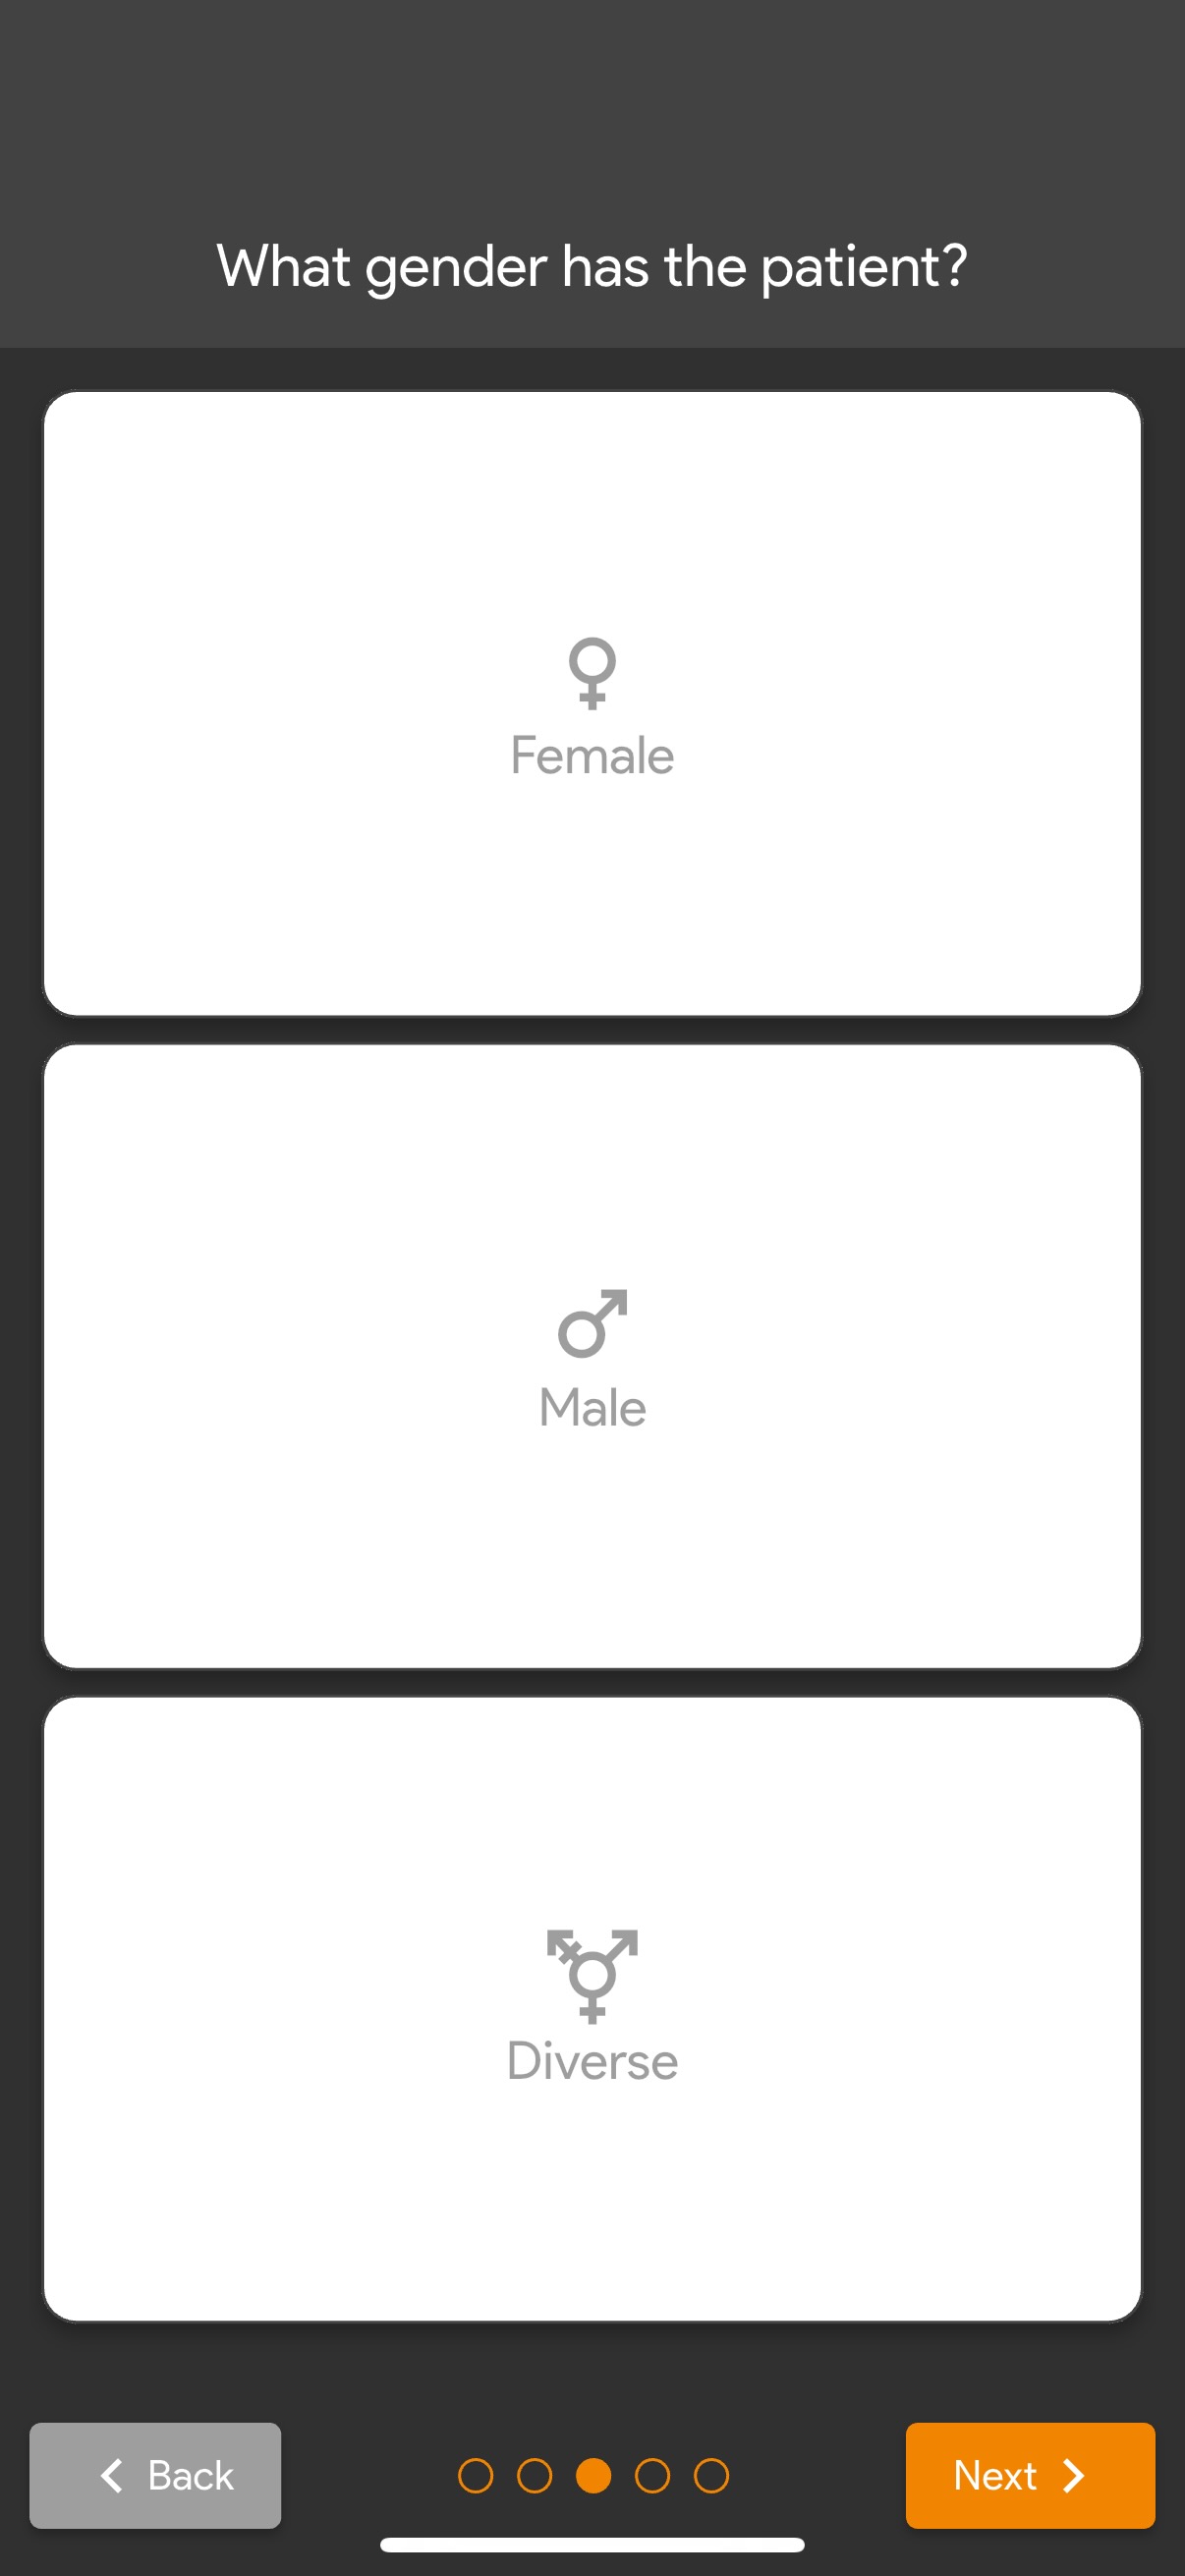
Gender Screen
Next, select the patient’s gender.
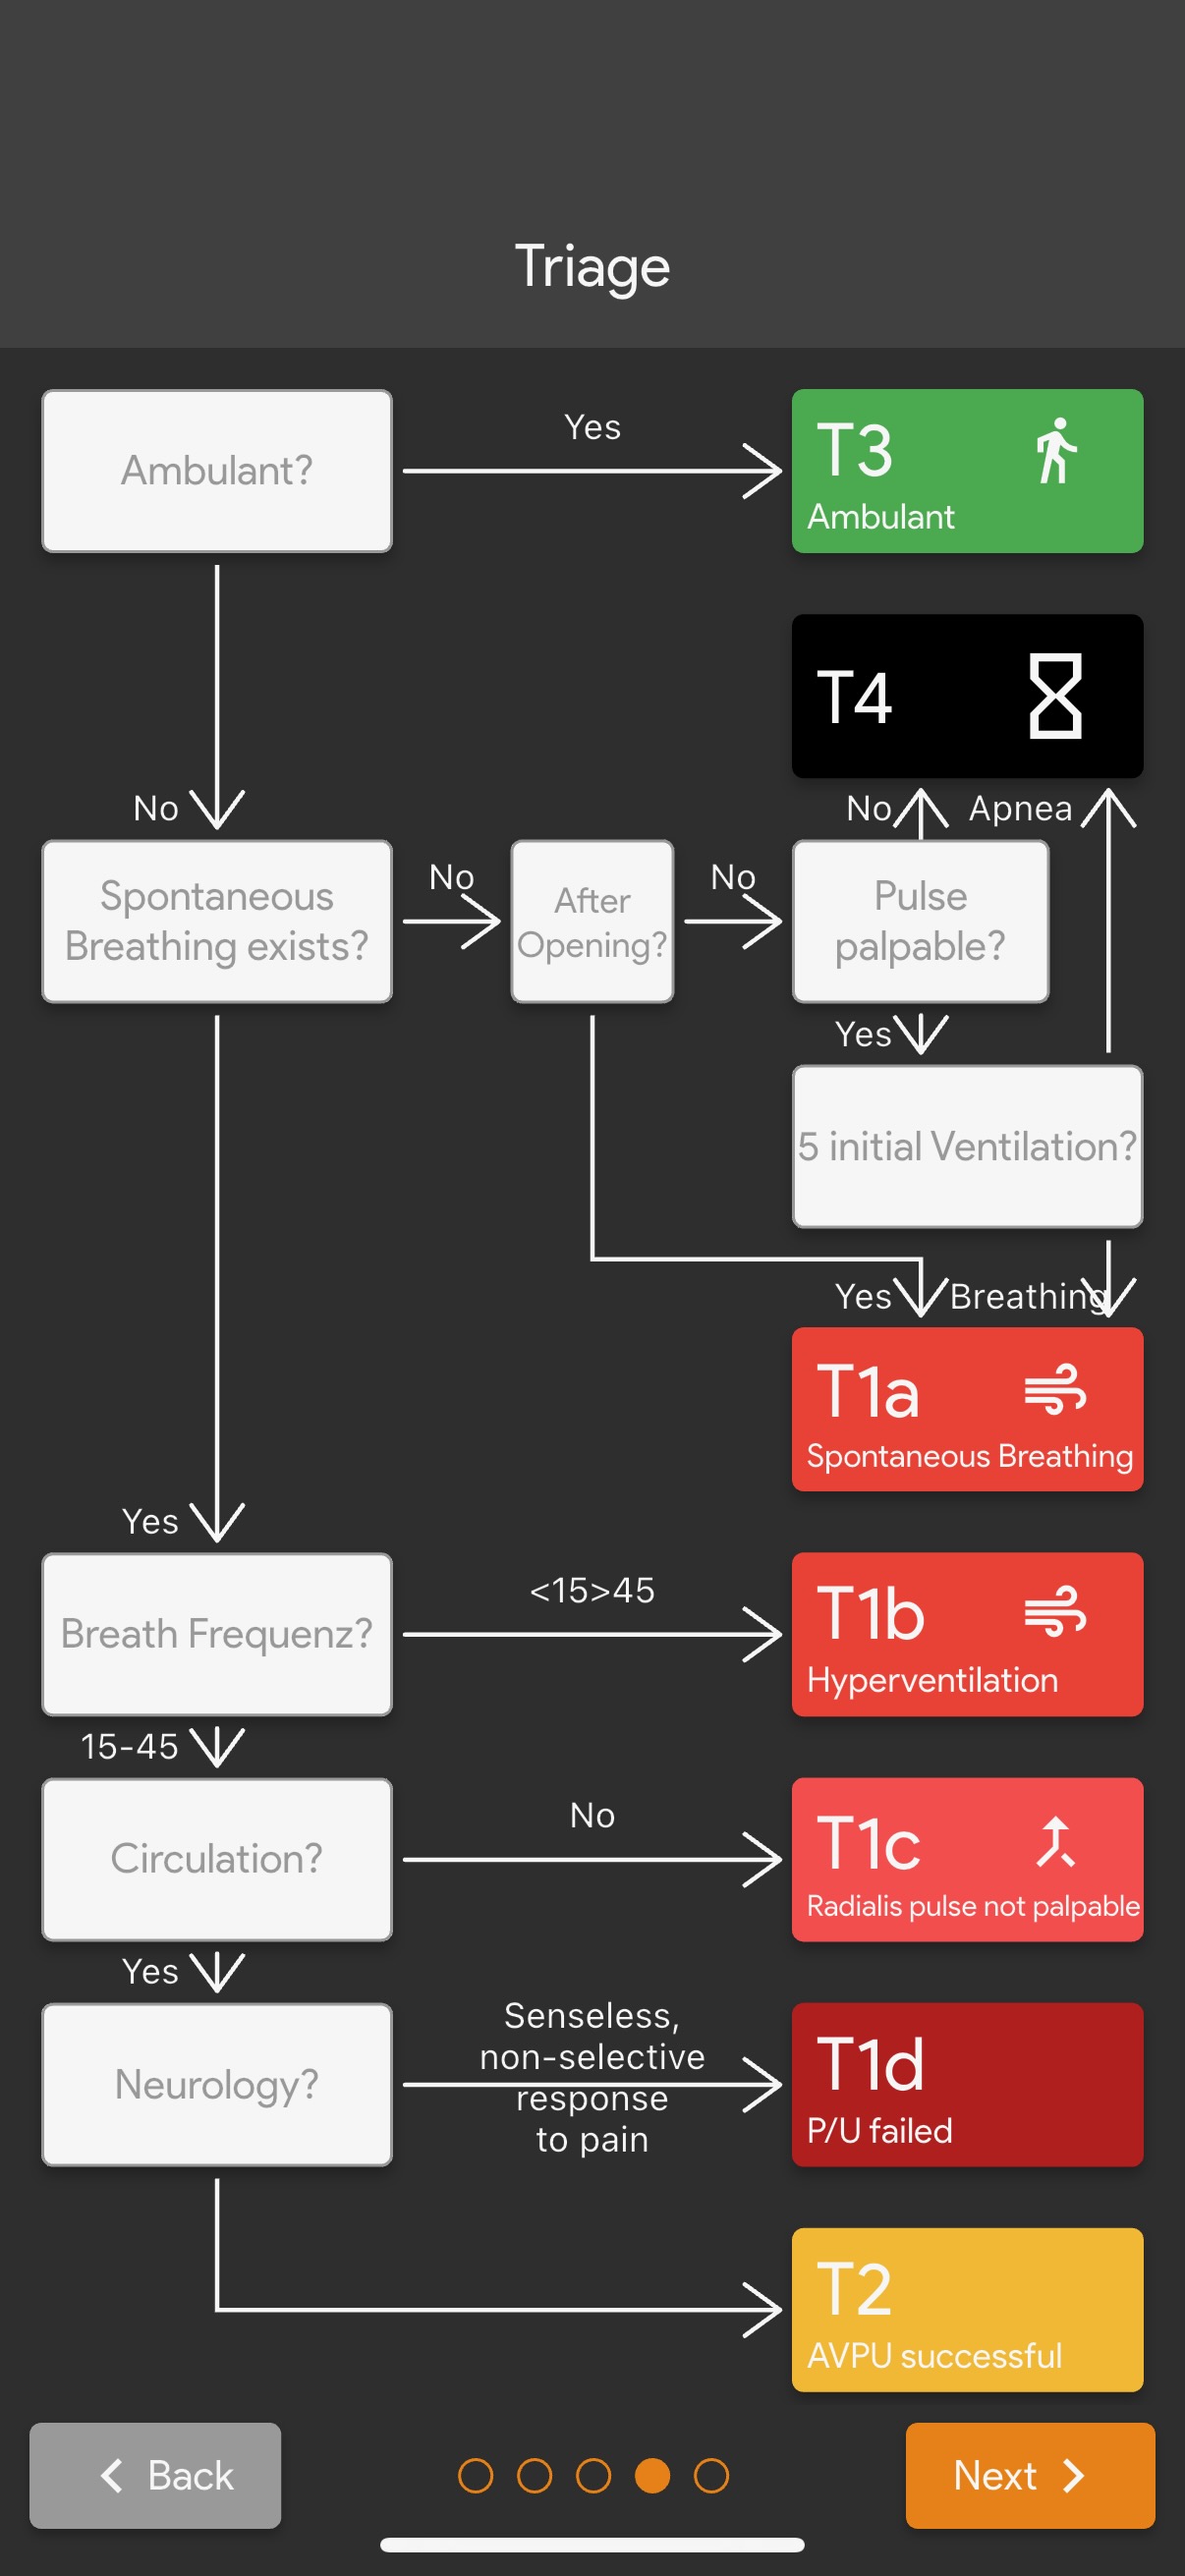
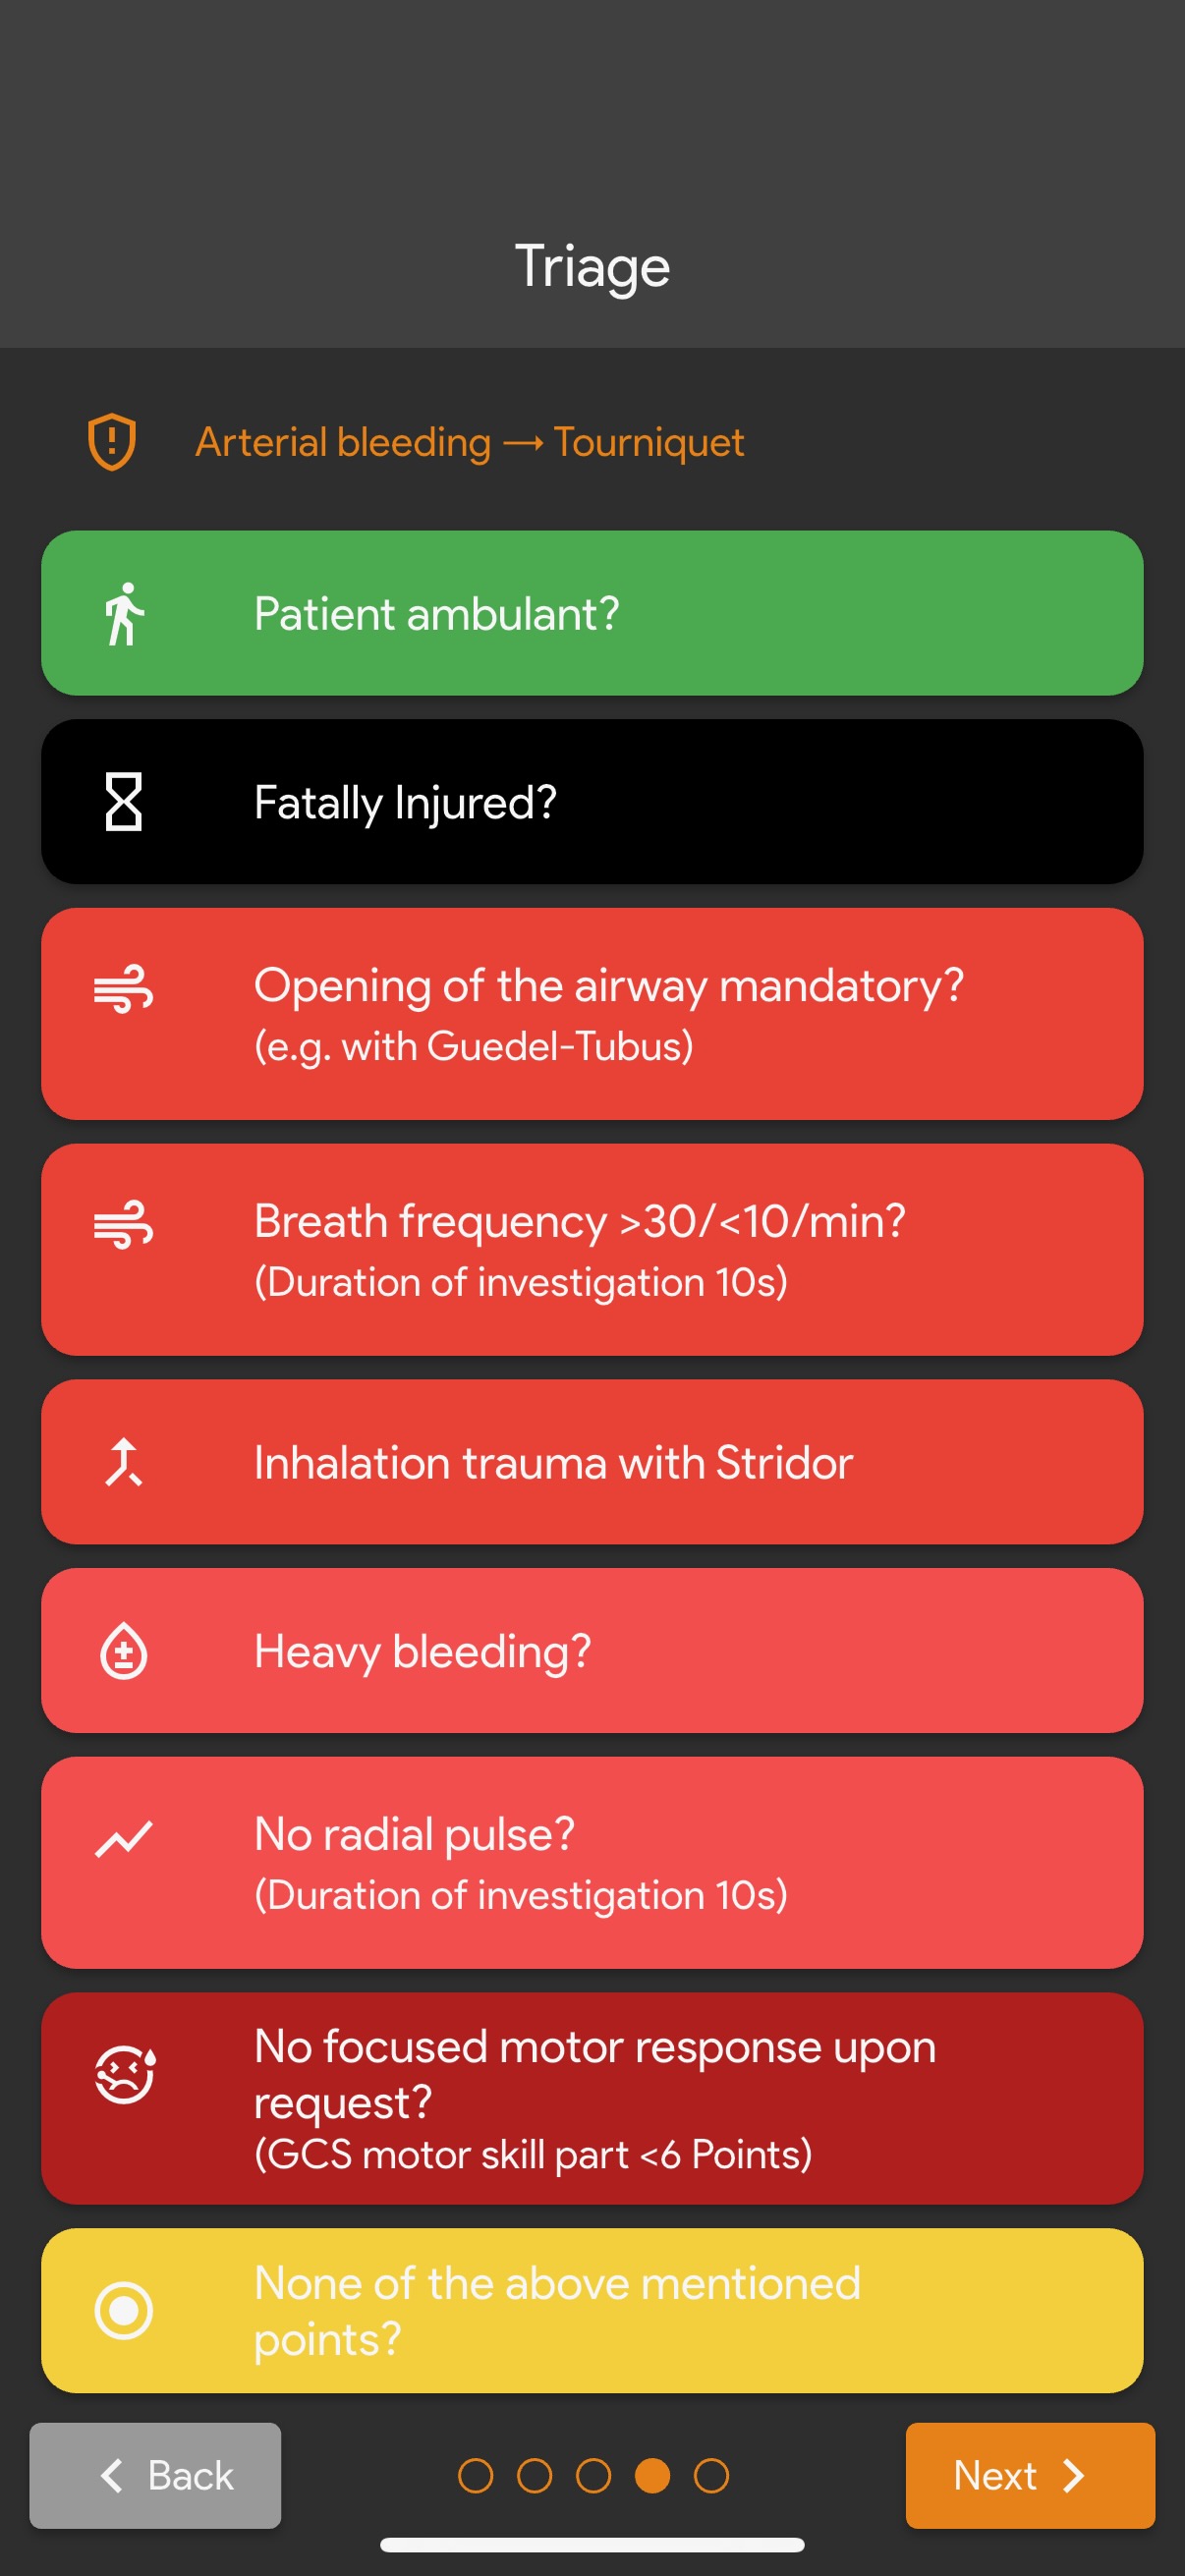
Triage Screen
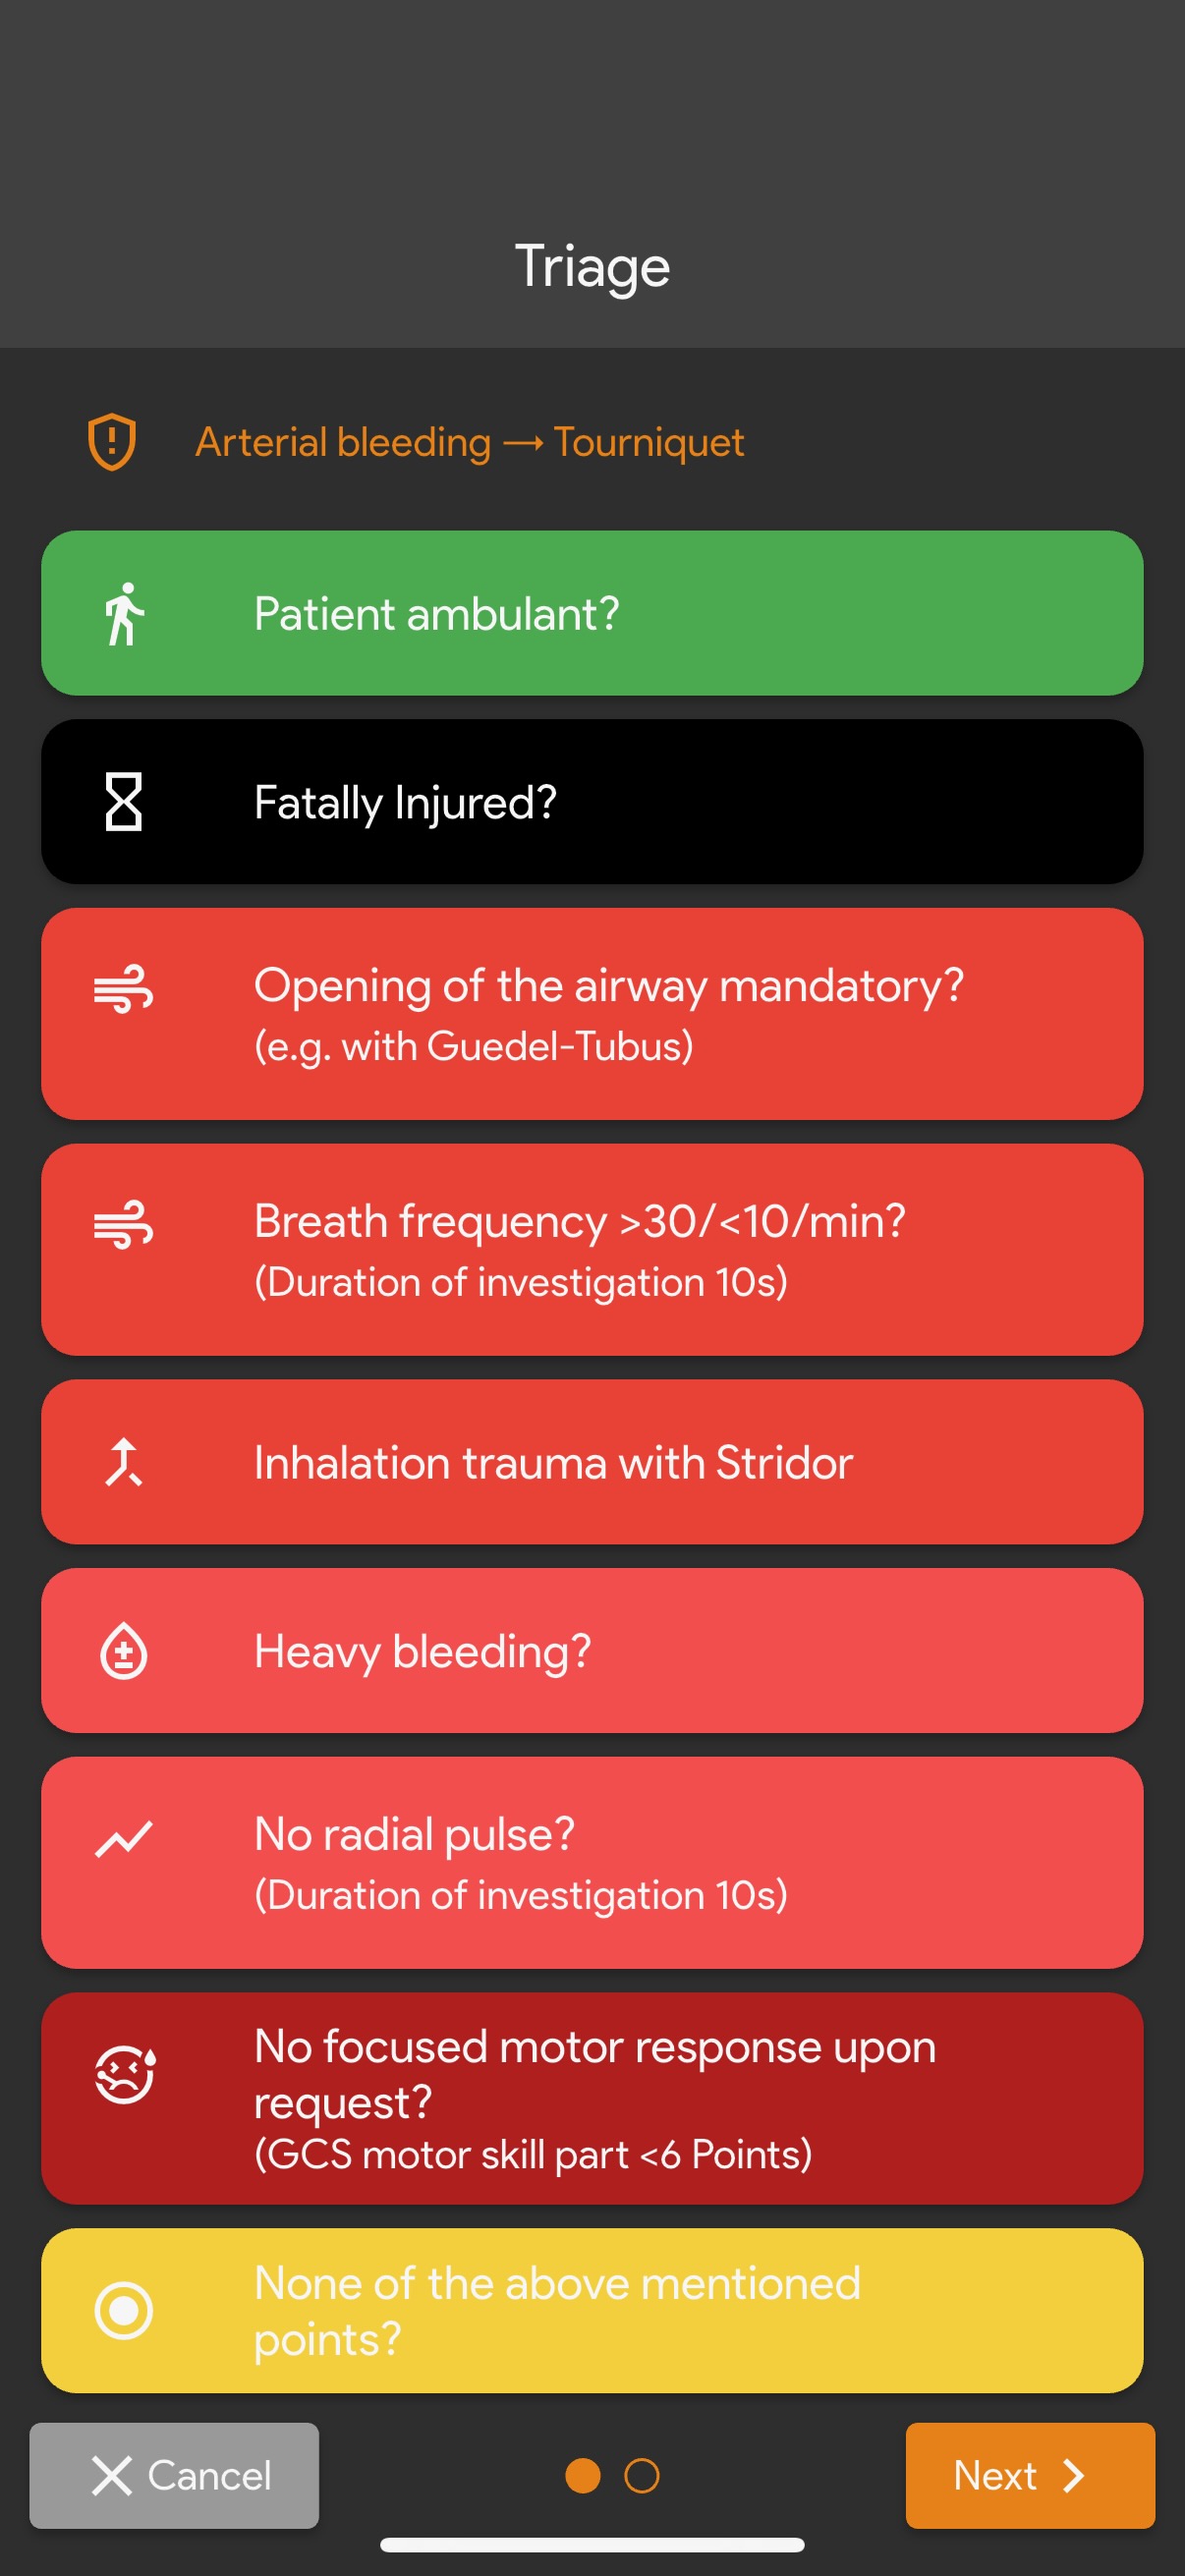
On the next screen, you can choose the triage category for the patient. This screen will also look different depending on the chosen age category. Make sure to familiarize yourself with both screens for children and adults alike.
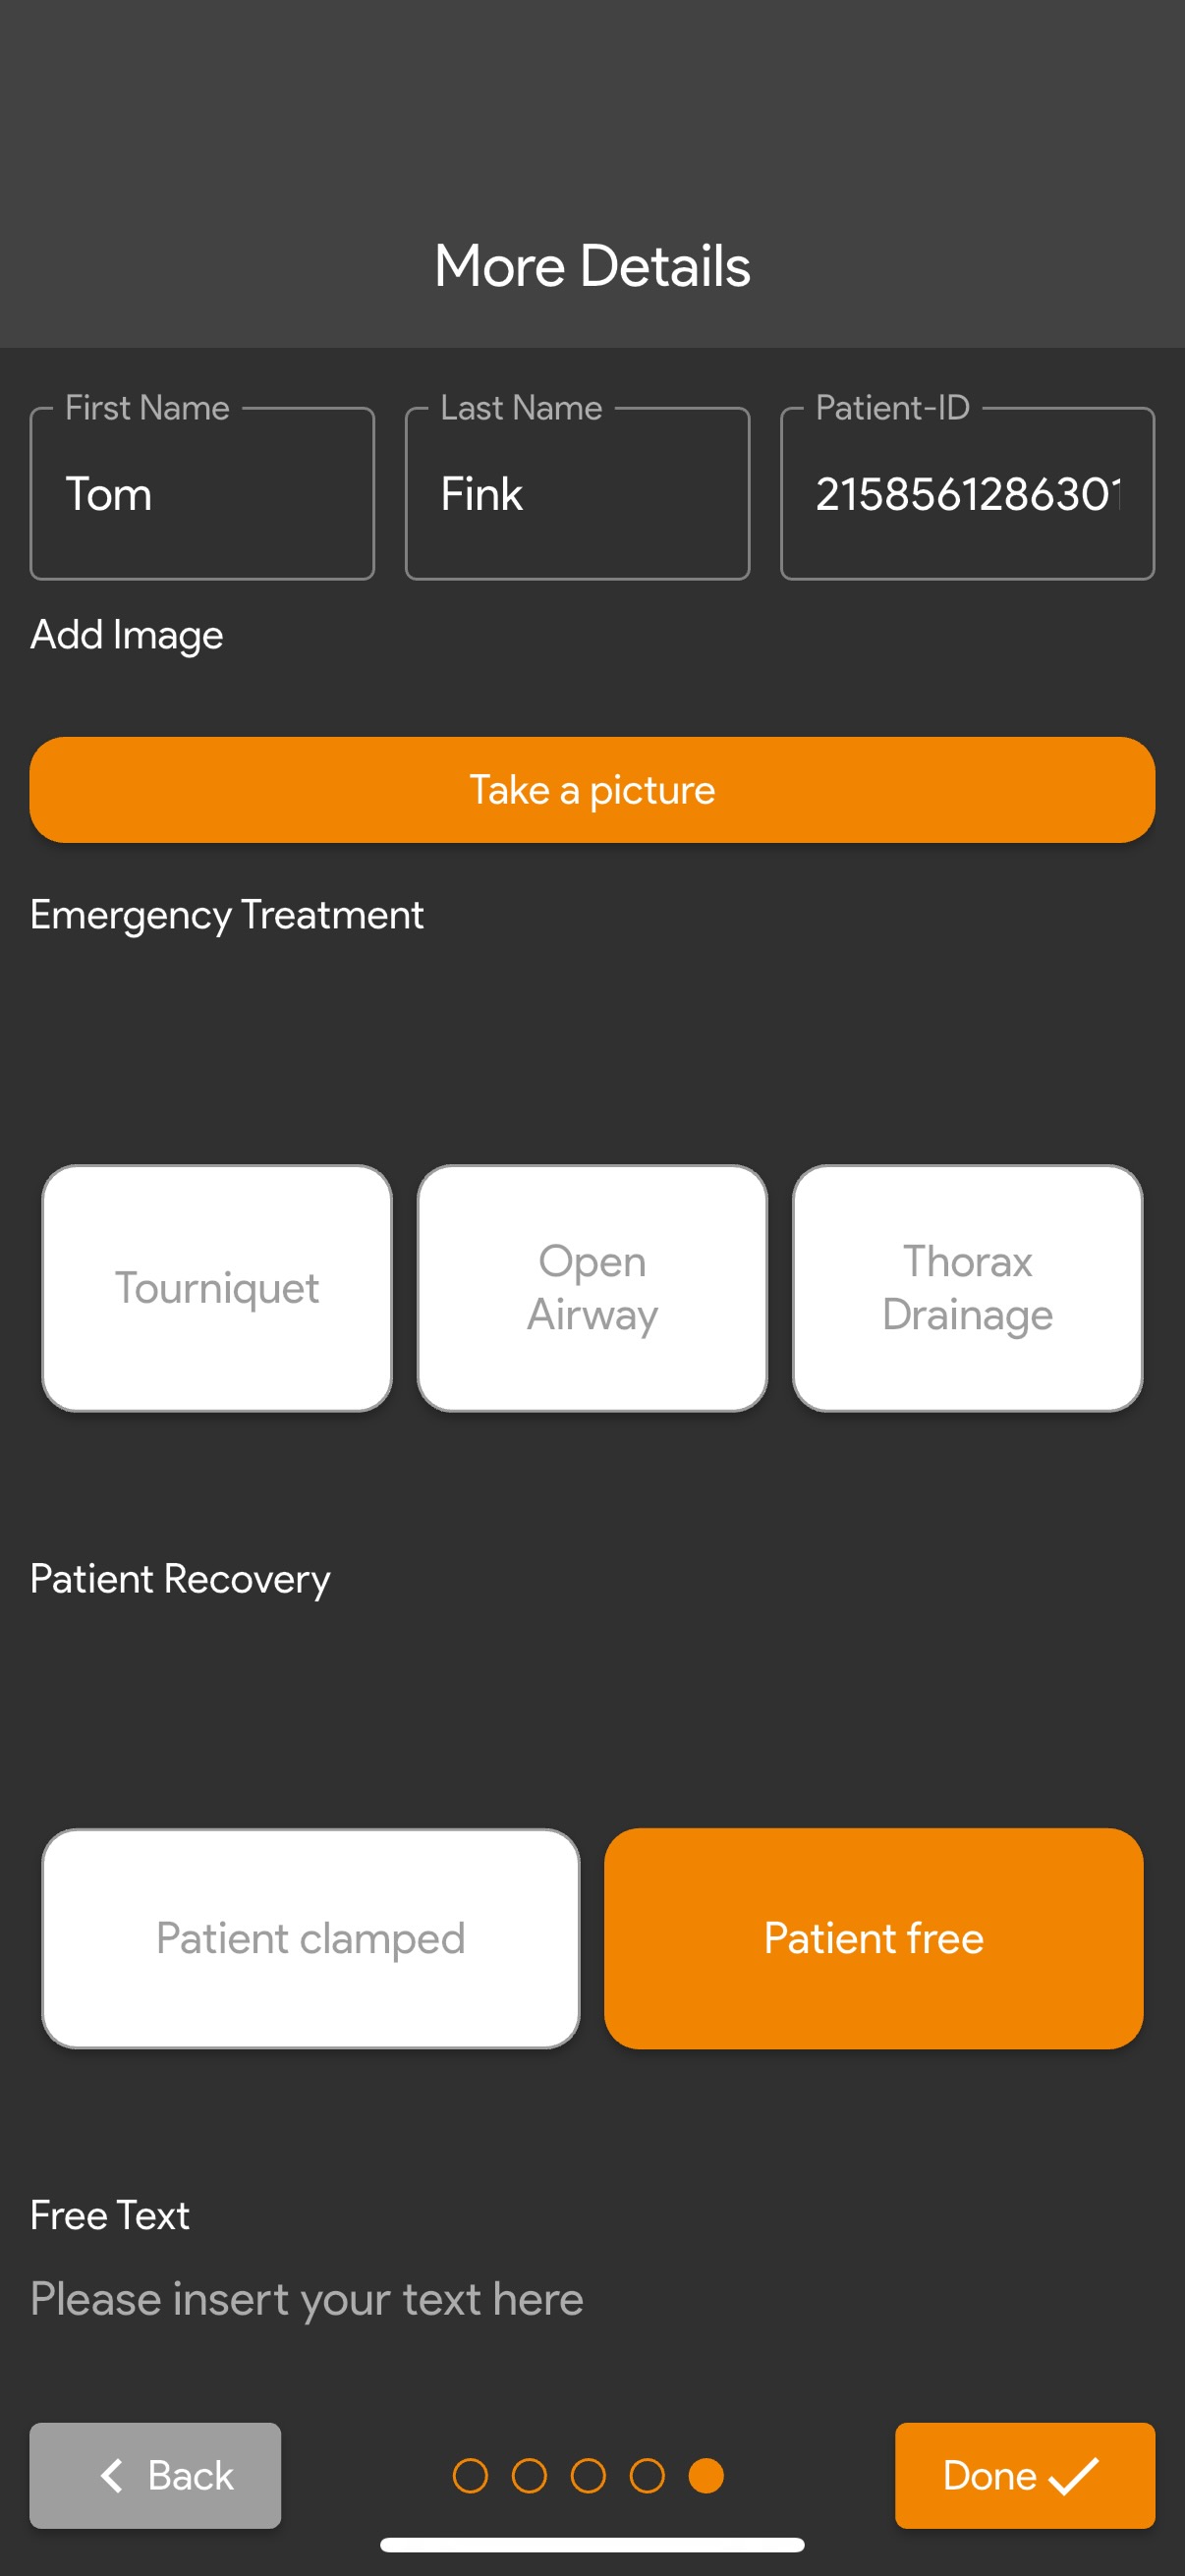
Details Screen
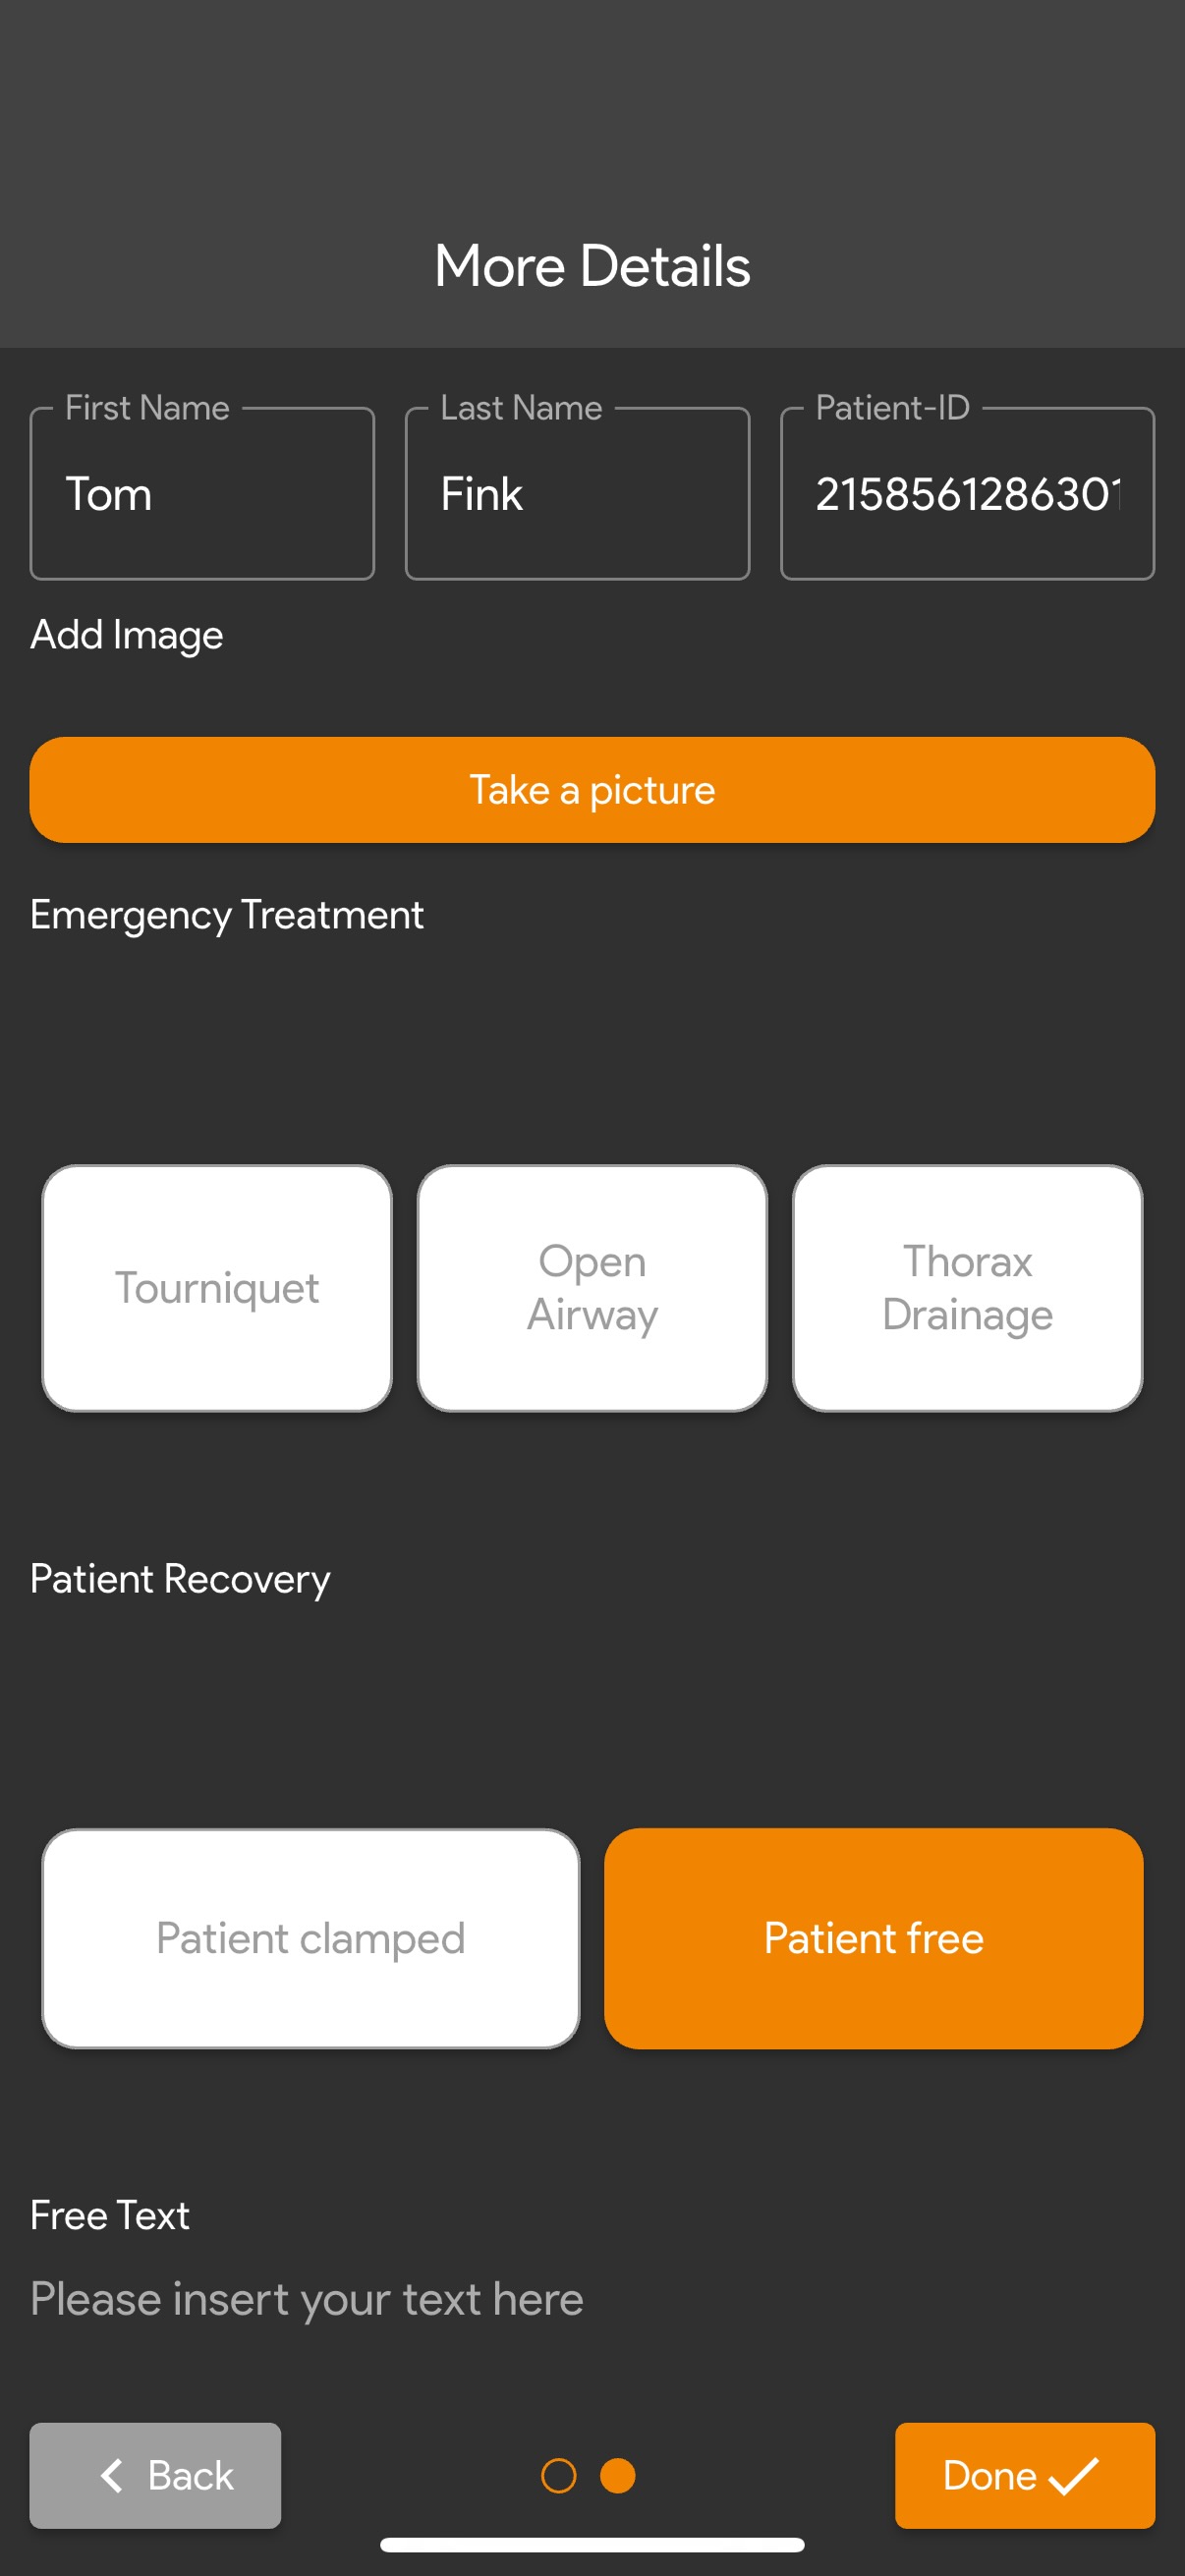
For the final step, you can enter additional information about the patient. Enter details such as first and last name, add a picture, select options, and enter free text. Make sure to familiarize yourself with this screen. Afterwards, click done and save the triage.
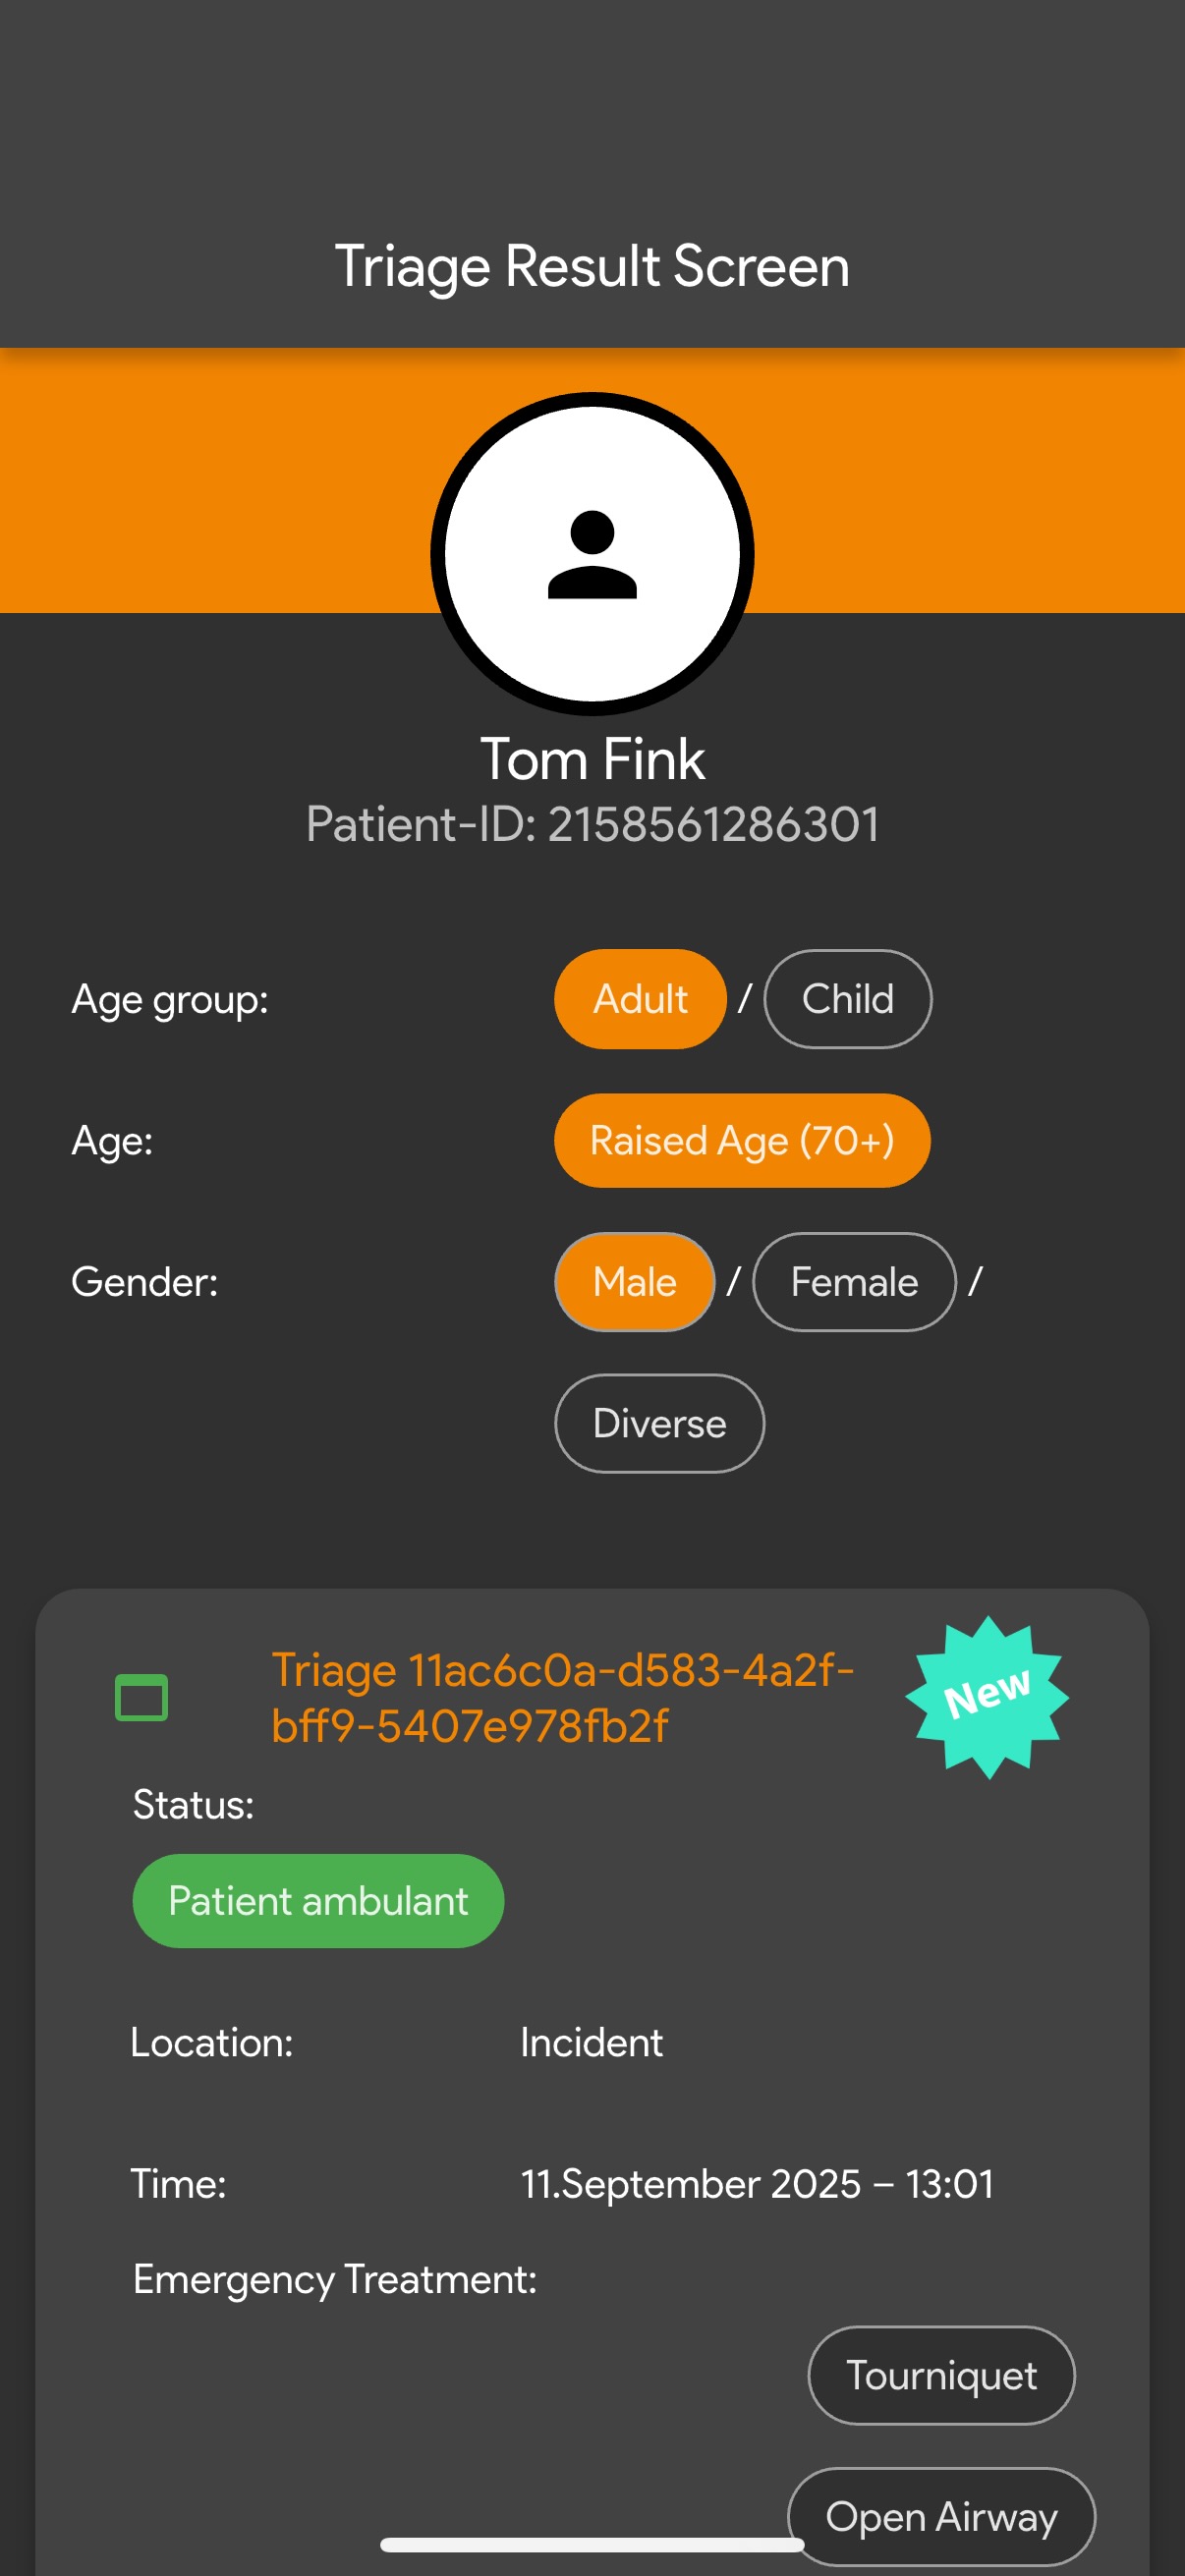
Triage Result Screen
This screen displays the information you added to the patient and confirms the successful creation of the patient record. Scroll down and return to the home screen.
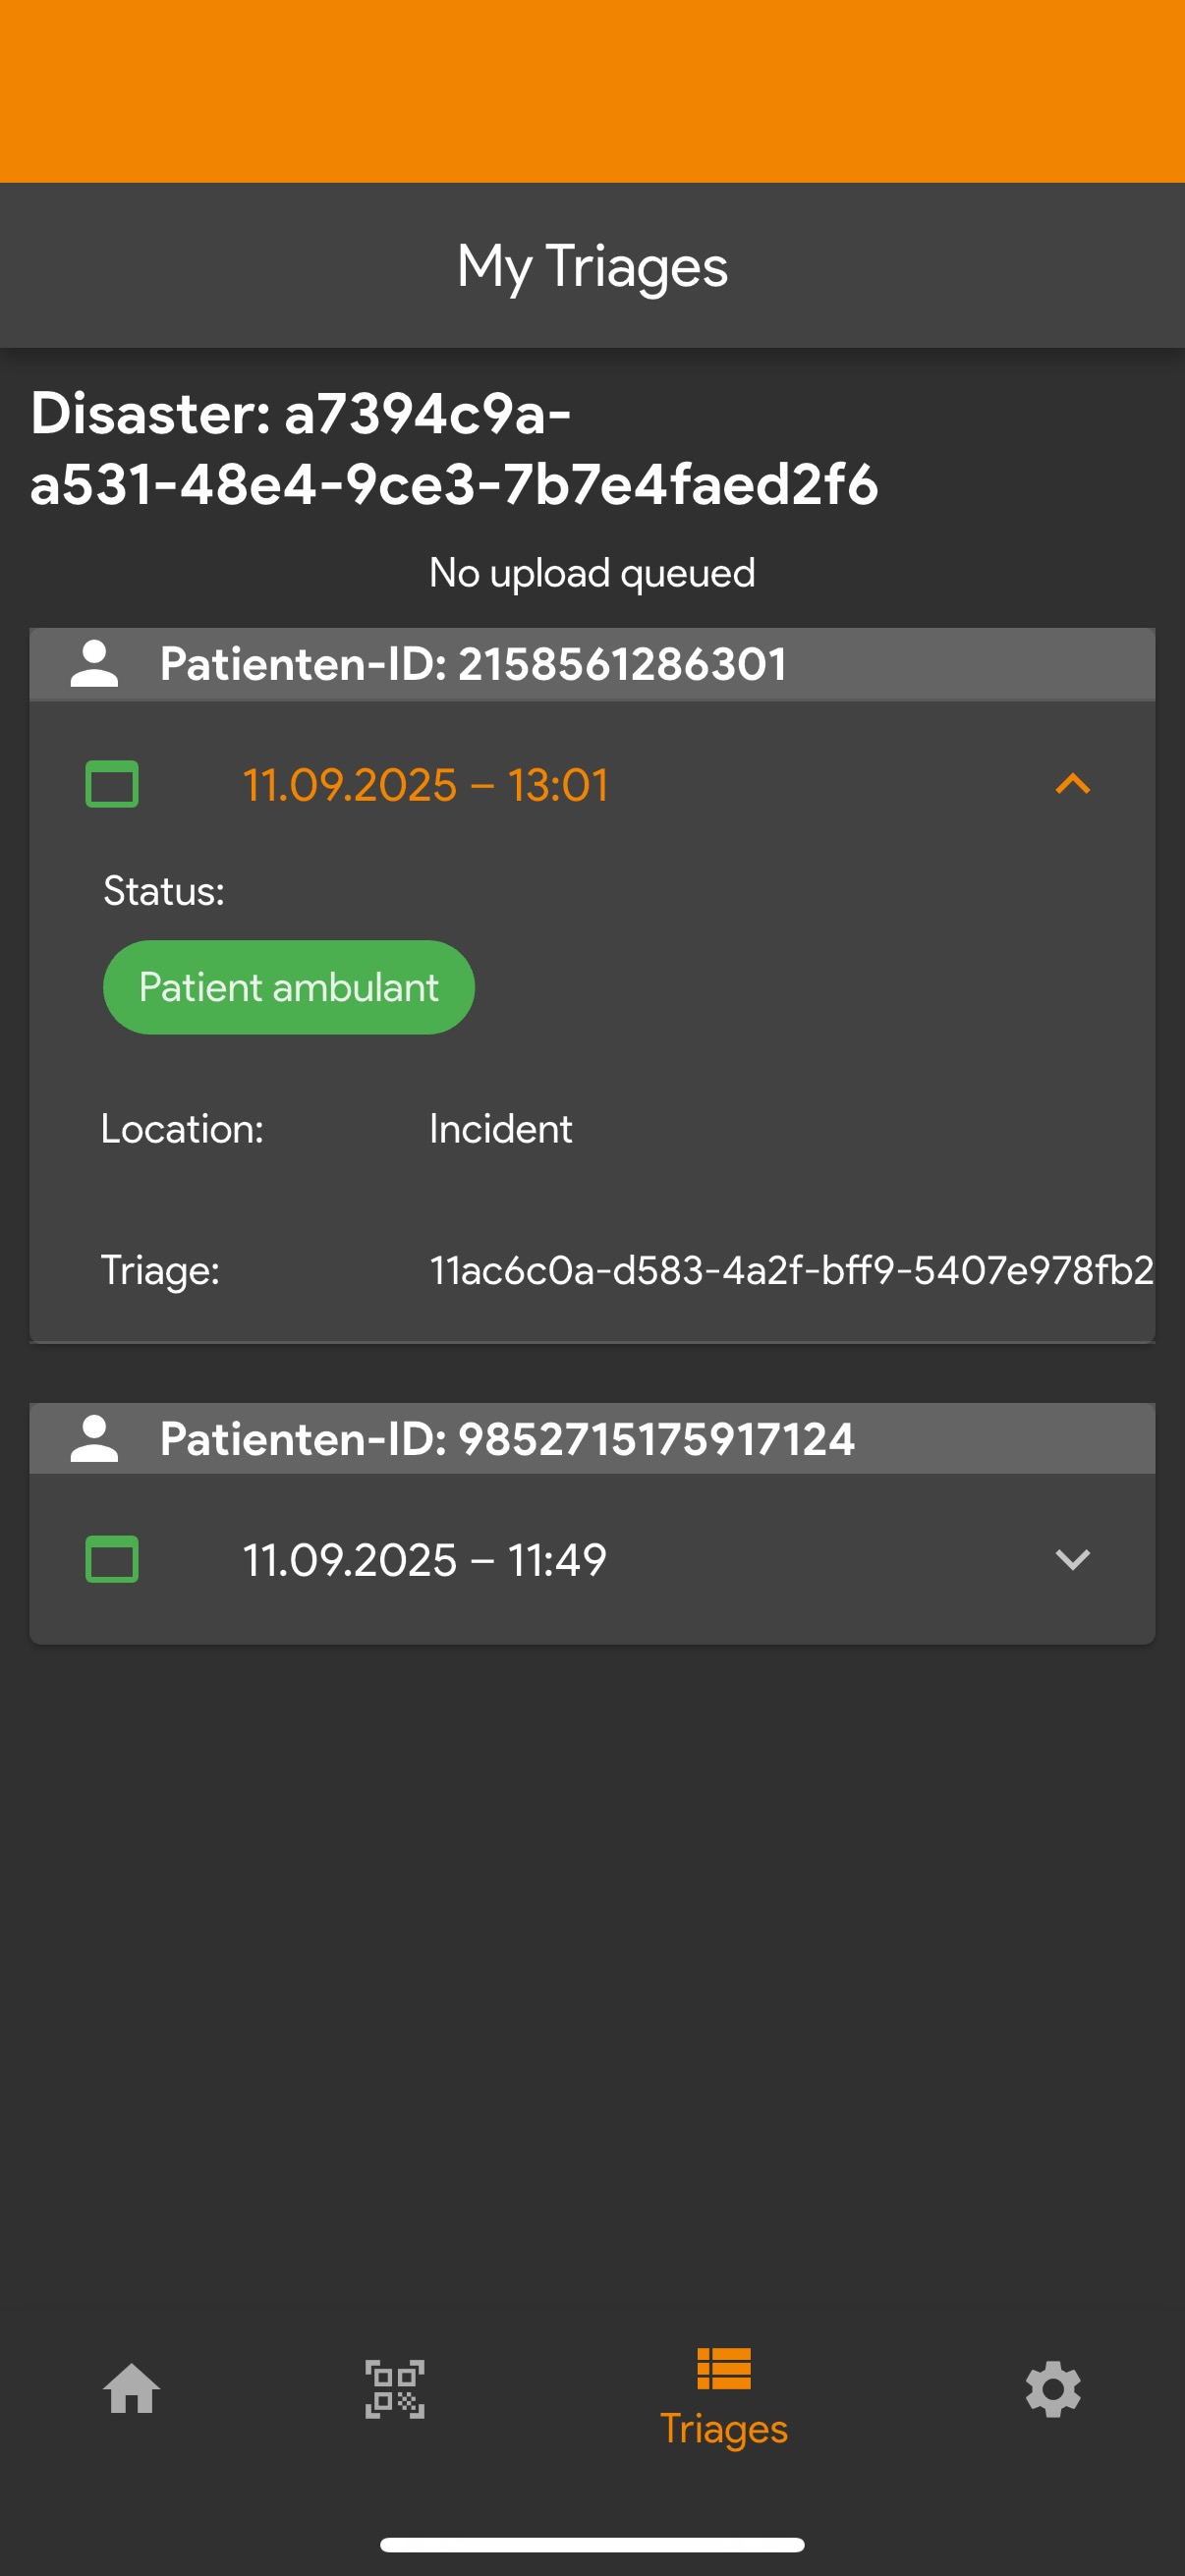
Completed Triages Screen
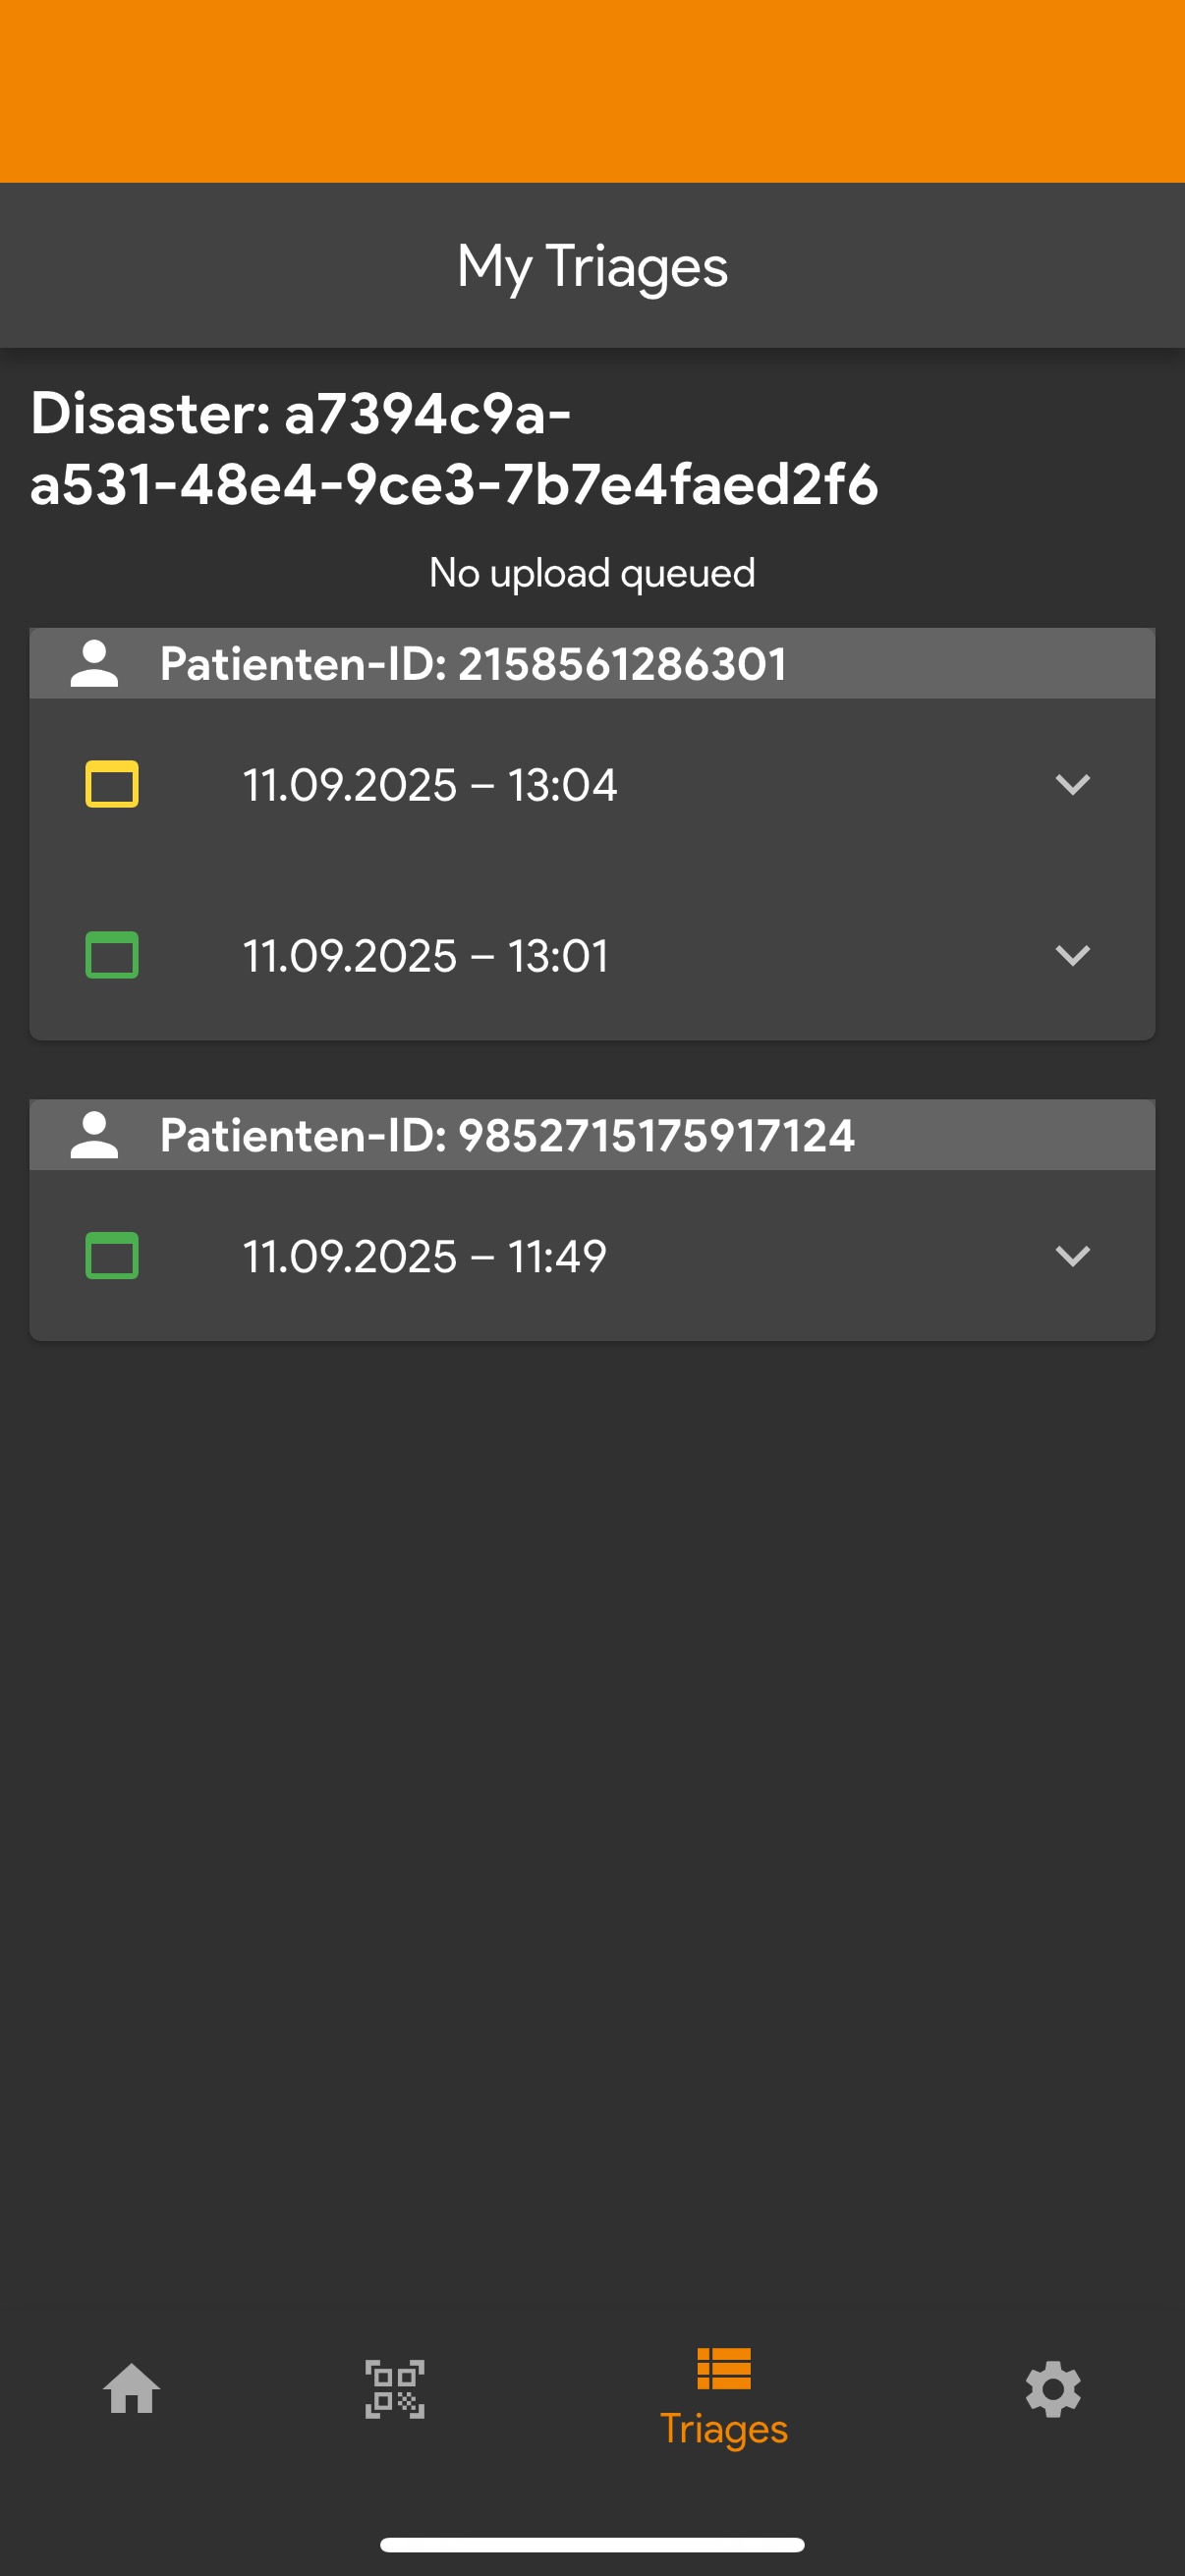
Navigate to the bottom navigation bar and click on the third tab. This will show you all your previously completed triages. Ensure your previous triage appears here.
Followup Screen
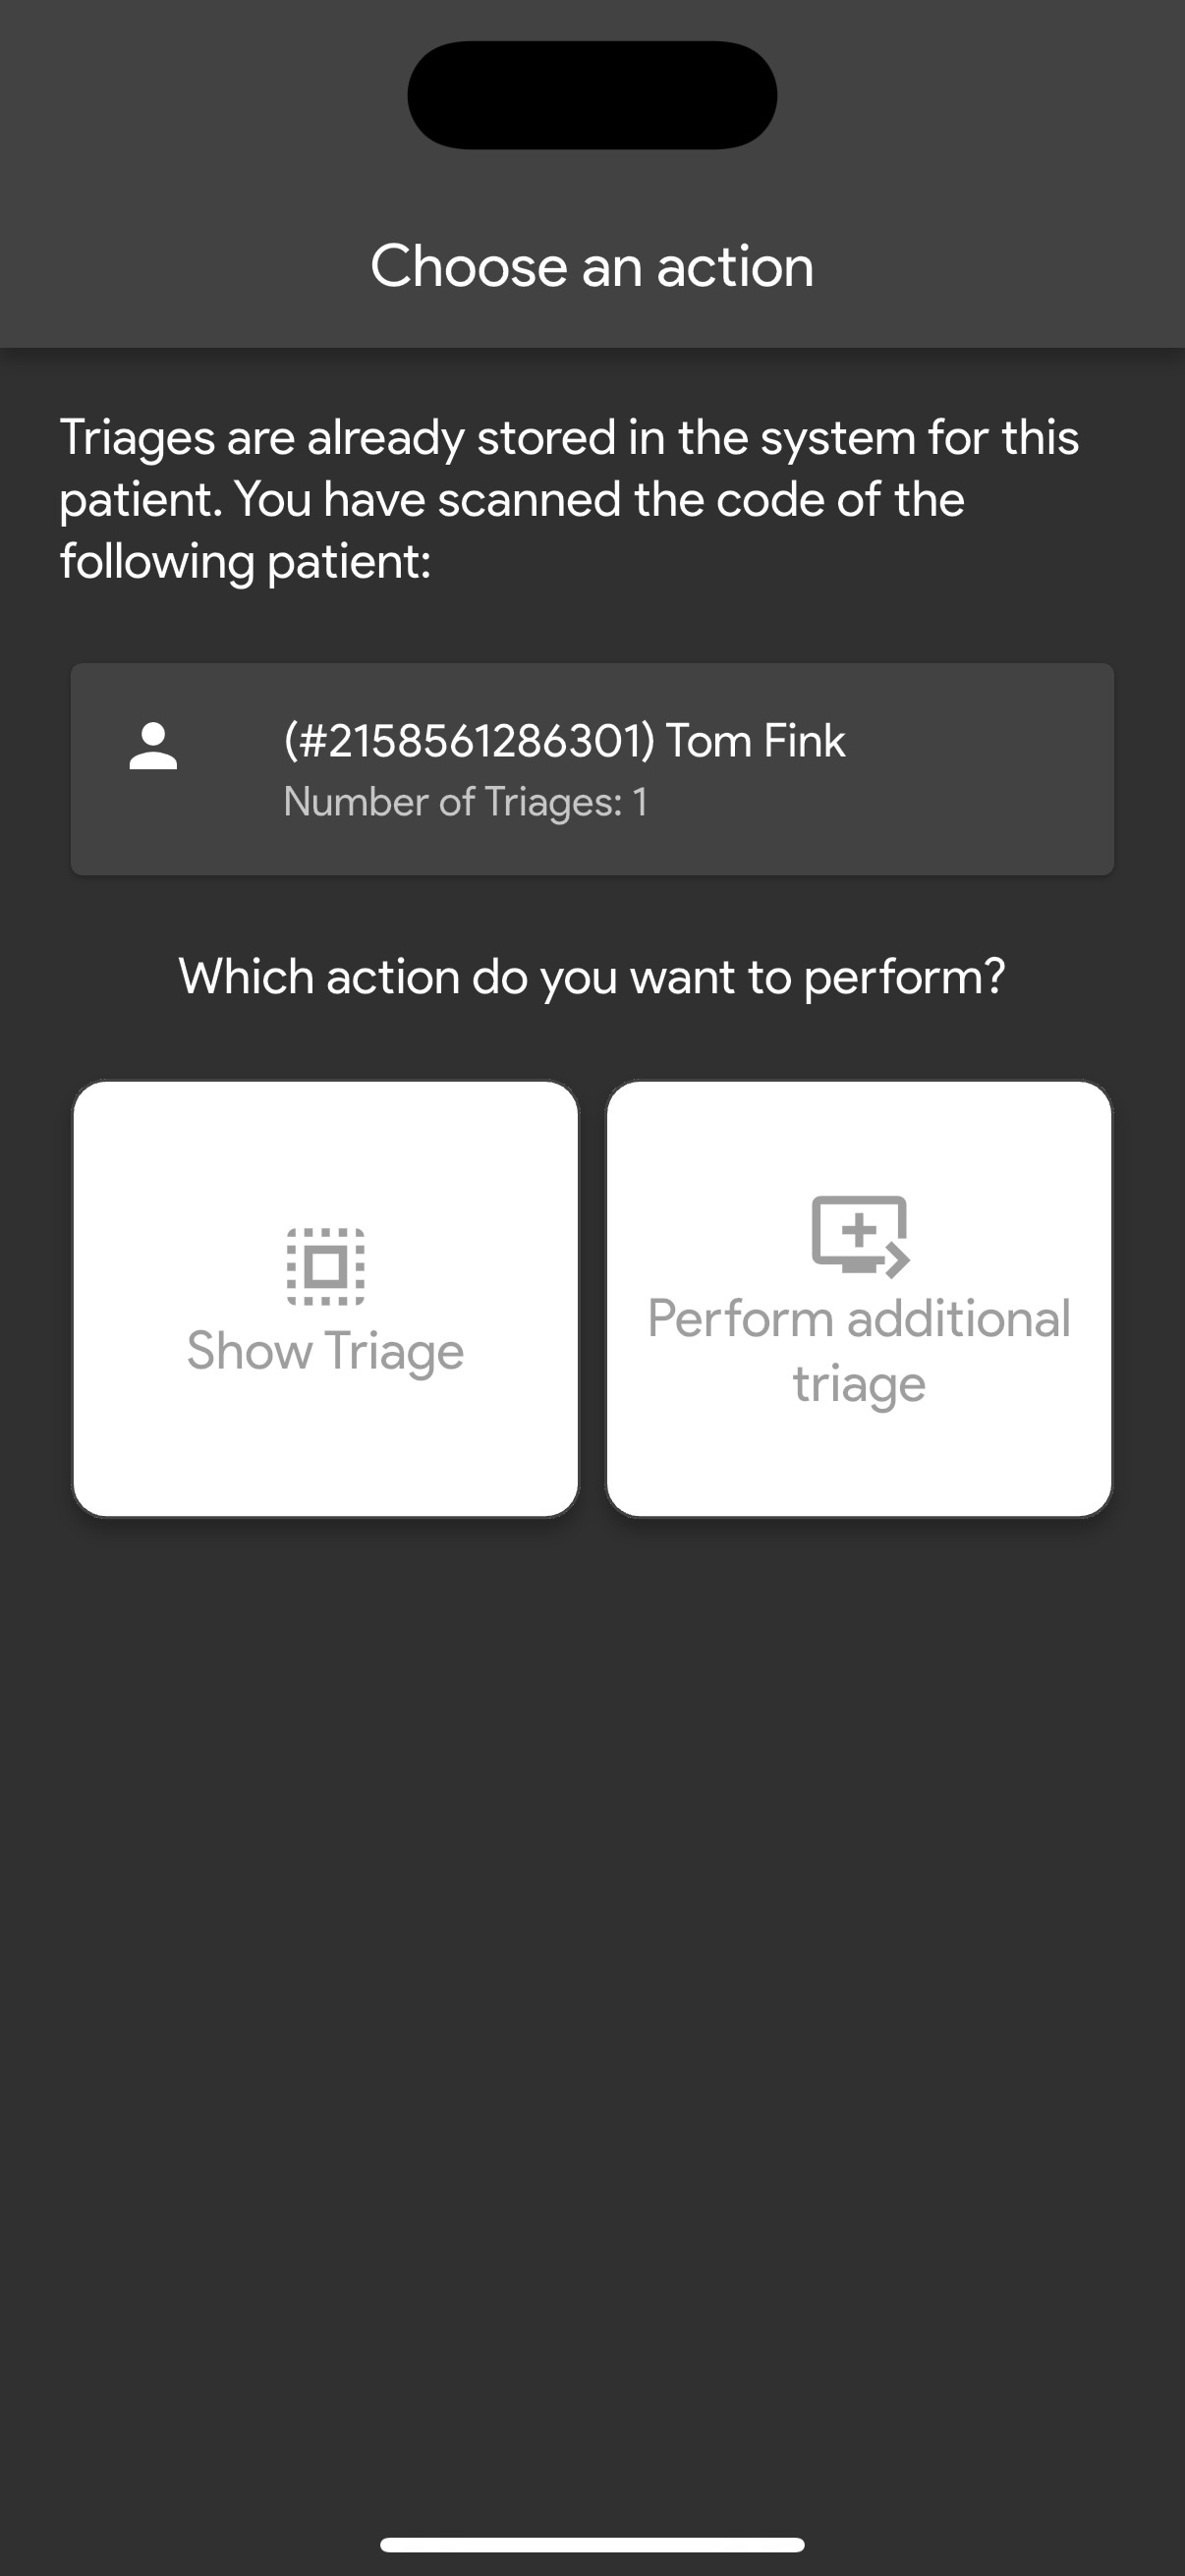
Next, return to the QR code scanner and scan the same code again. This will show you that a previous triage was created for this patient. Click “perform additional triage” to add a second triage to the patient. This is usually done by a different role than the default “incident” location, which is set on the home screen.
Followup Triage Screen
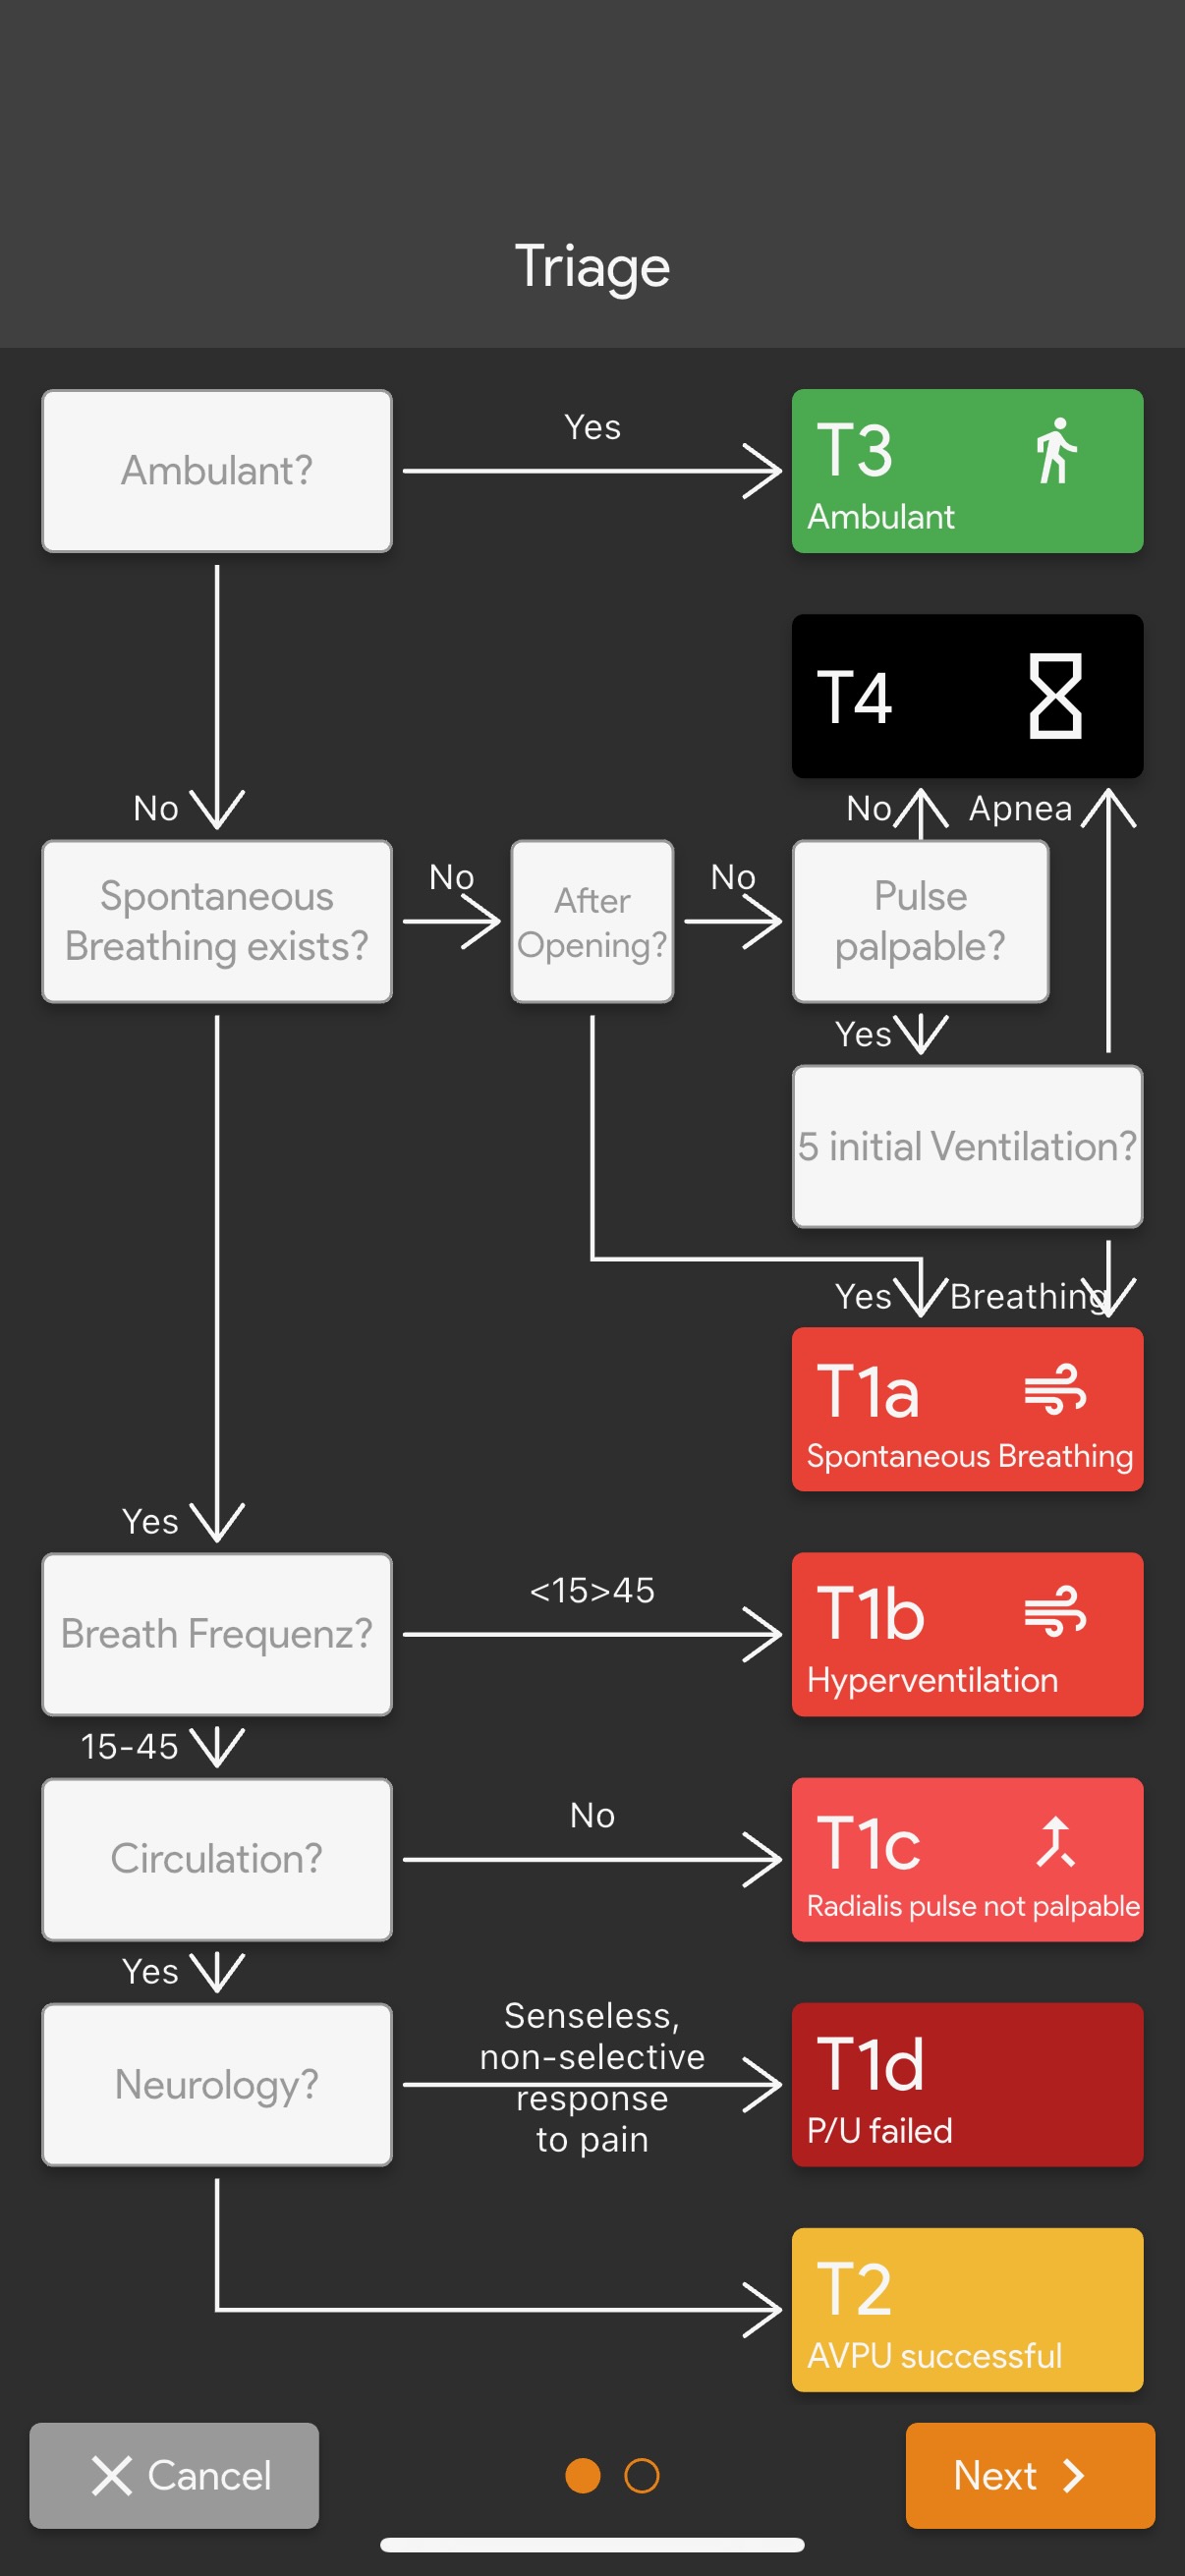
A follow-up triage will start on the triage selection screen. This layout also depends on the age category selected in the initial triage. This setting cannot be changed in any subsequent triage.
Followup Details Screen
The details screen will look mostly the same as before. Changing the name, emergency treatment, or recovery status will update the patient’s status, while adding a picture and free text will provide additional information specific to the current stage of the patient. It’s always a good idea to include a new picture and free text, as this provides additional relevant information.
Final Triage Screen
Finally, you can return to the screen showing all triages. At this point, you should see two triages both belonging to the same patient. Additional tests should also be displayed here. This concludes the complete guide to the app. Please ensure that you are prepared to use the app during the drill. Take the time to familiarize yourself with all of the screens and reach out if you believe anything is not working as expected. We are ready and willing to help with any complications several days in advance of the drill. However, there will be no time for assistance once the drill is scheduled to start or shortly before. Please make sure to reach out as soon as possible.

